With fresh, year-round produce available at the grocery store, starting your own vegetable garden as a beginner might sound pointless, not to mention difficult. But growing fruits and vegetables is a great way to learn more about what you eat, save some extra cash and start composting to live more sustainably. Plus, experts say that it isn’t as tricky as you think.
“I soon learned that once you’ve broken ground, keeping a garden is not much work at all,” says David Toht, author of “Backyard Homesteading: A Back-to-Basics Guide to Self-Sufficiency” and “40 Projects for Building Your Backyard Homestead: A Hands-On, Step-by-Step Sustainable-Living Guide.” “It’s a pleasure to check the garden in the evening and find, say, more snow peas ready for stir-frying, a hidden zucchini that better be harvested quick before it turns into a dirigible and, joy of joys, that first ripe tomato.”
Brian Brigantti of the TikTok Redleaf Ranch, which has 2.9 million followers, shares a similar wonder for gardening. “We started our vegetable garden in March of 2020, at the wake of the pandemic. With rising uncertainty of how accessible food was going to be, I focused in on growing it ourselves,” Brigantti says. “The further I dived into the world of gardening, the more I realized just how critical having this wisdom is. Not just growing food, but how nature really works. As I learned more about the interconnectedness of nature and how greatly we can influence it, the more passionate I became,” Brigantti continues. “Fast-forward two years later: It has become my world. An ongoing journey full of wow and whimsy.”
Brigantti also touts the power of eating food grown in your own backyard. “Growing your own food gives you a much deeper appreciation for what you consume,” he says. “You cherish and value it so much more knowing it was created through your own hands. You have the peace of mind knowing that what you’ve grown is all-natural, fresh and organic.”
Toht echoes the benefits of eating cleaner, healthier foods from your own garden. “Raising your own vegetables offers vine-fresh food loaded with flavor, and you know exactly what did or didn’t go into it,” he says. “But not only do you get the freshest possible food, you’re going to save money too. Back in the ’80s, I kept track of what we took out of our garden and compared it to the cost of buying the same produce at a farmers market. Our 10-foot-by-30-foot garden gave us over $800 of produce — in 1980s dollars!”
On top of eating healthier food and saving money, Brigantti says that gardening helps you stay physically active. “You become more agile and strong,” he says. “It’s just good for the soul. There’s something about getting your hands in the ground and feeling the soil run through your fingers that is so therapeutic.”
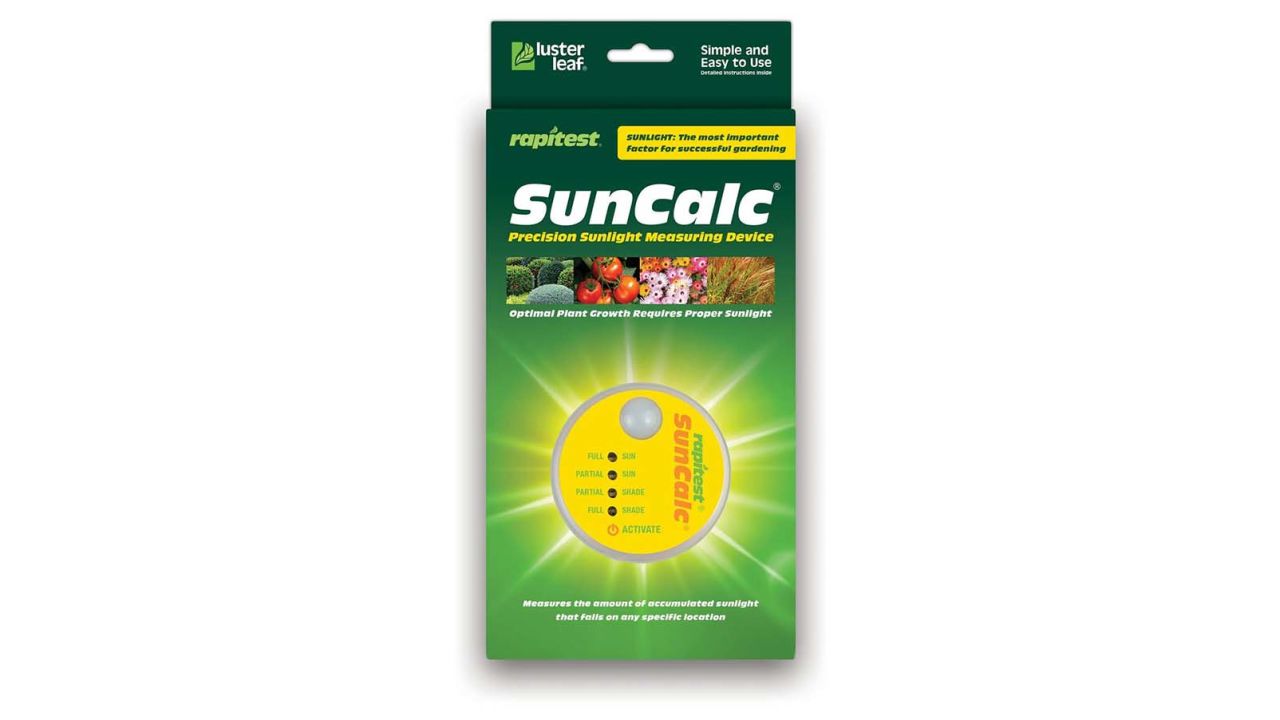
If you want to start your own garden, the first thing to do is to figure out if your space can handle one. Toht says the amount of light the space gets is critical. “Make sure the area you choose gets at least six hours of sun,” he says. “Measure this by recording every hour how much full sun hits your chosen spot or buy a measuring device like a [Luster Leaf] Rapditest SunCalc. You simply stick it in the ground for 12 hours and it will record the degree of sunlight.”
While Brigantti also recommends finding a spot with five to six hours of sunlight, he says it’s not absolutely necessary. “You can do so much with a fully lit or partially shaded space,” Brigantti says. “If you get less daylight, there is even potential for a shade garden! Many plants grow and thrive in shaded areas.”
There are several ways to dig and build your garden, but Brigantti recommends the no-till gardening method. “It’s simple, effective and, most importantly, it’s great for the soil,” he says. “Once you’ve decided on placement and the size of the plot, use your spade to dig a narrow trench in the shape of your bed so you have your outline. The shape you create is up to you; depending on your space, a round or rectangular bed would work best. This trench also ensures that weeds don’t creep into your bed easily.”
After you have an outline, Brigantti says to aerate your soil by poking holes with a pitchfork and gently lifting the dirt, therefore creating air gaps. This makes the soil easier to work with and easier for plants to root in, and it invigorates the microorganisms living in the dirt.
Next, Brigantti says you’ll need to kill off any weeds so your plants aren’t competing for nutrients. To do this, he says to cover your entire area with cardboard and soak the cardboard with a hose, then add a 3- to 5-inch layer of soil on top of the cardboard (Brigantti likes to use compost and worm castings, but he says a mixture of compost and garden soil will also work).
All that’s left to do is plant, which Brigantti says is easily done by cutting little holes in the cardboard and inserting your plants so their roots can reach deep into the soil. Then add 2 to 3 inches of mulch to the top so the whole environment can retain moisture. If you want a more detailed breakdown of this method, check out Brigantti’s full walk-through here. He recommends doing this as soon as the soil becomes workable in the early spring.
While the no-till method may be easier on your back, if you do want to till your soil, Toht says breaking ground on a small garden can easily be done in a day. “I recommend digging 4-foot-wide beds with paths in between. That way, you can reach in to weed and harvest without compacting the soil,” he says. “Double digging, something invented by French market gardeners, lets you place plants closer together. You simply dig a spade-wide trench about 10 inches deep, setting aside the soil, then fork up the bottom of the trench, adding compost if you have it. Next, dig a trench beside the first, dumping the soil into the first trench. Keep trenching and forking and you’ll end up with a garden aerated 16 inches down. Plants love it.”
In terms of what plants are best to start off your garden with, Brigantti suggests kale, carrots, rosemary, onions, spinach and marigolds for spring, and tomatoes, peppers, zinnias, sunflowers and beans in the summer. Another plant Brigantti urges you to include is comfrey. “A must-have plant in the garden is comfrey, a deeply nutritious plant that is used by many organic gardeners as fertilizer by either digging it into the ground where you plant or throwing it in their compost for a nice boost,” he says.
Toht says he loves planting tomatoes, pickle-size cucumbers, pea pods, yellow squash and zucchini in the warm seasons. And if you want to try a late harvest, he recommends trying Brussels sprouts since they last into the winter. However, Toht says what you can grow depends on your climate, so you should talk to other experts in your town: “Nothing beats talking to local gardeners who have a few years experience behind them.”
A few more tips from Toht and Brigantti:
- “Watering is critical, especially in very hot weather,” Toht says. “To get water where it is most needed, perforate the bottom of plastic milk jugs and bury them near your plants. Sink each so just the top is showing. During dry periods fill each jug with a hose in the morning. The perforations release the water into the roots, far enough down that water won’t evaporate during hot spells.”
- “There are a lot of bugs! Don’t be afraid — most of them are your allies in the garden. Learn to love them, cultivate them and welcome them into your gardens,” Brigantti says. “The role they [play] is invaluable.”
- “Every summer is different, so keep at it and tweak your methods if the first year is not as successful as you’d like,” Toht says. “Also, let me put in a plug for egg-laying chickens. More and more towns allow them. With chickens, not only do you get fresh eggs raised in humane conditions (caged chickens spend their life in a space no larger than a sheet of copier paper), but the hens happily eat weeds and parings, and supply the compost pile with nitrogen-rich manure. “
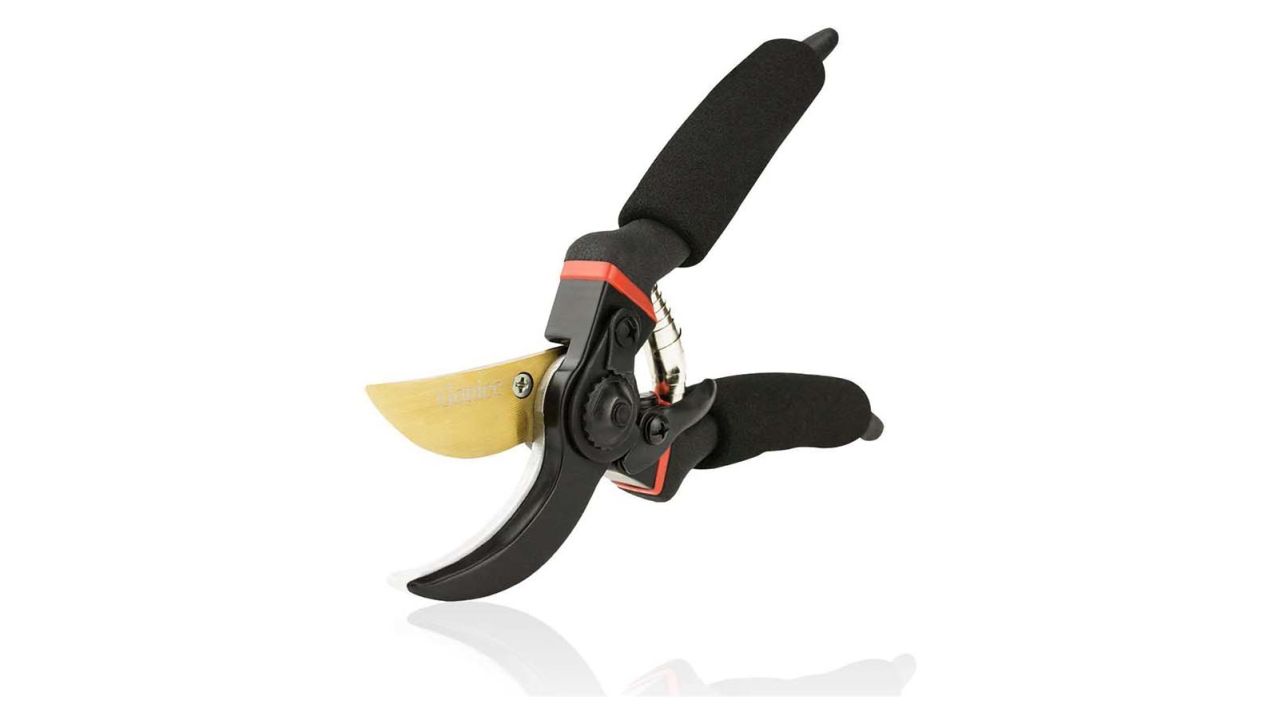
- “Build a relationship with your plants. Learn what they need and learn how to provide it to them. Don’t be afraid to fail,” Brigantti says. “Prune, prune, prune! Your plants will grow so much better with effective pruning. Lastly, be sure to feed your plants! They need to eat. Fertilize your plants well throughout the season to boost their energy.”
Below are some garden ideas, tips and tools help you build and maintain the garden of your dreams, as recommended by our experts.
This nifty tool will help you figure out if your space gets enough light for a garden. Simply insert it into the ground and let it measure the sunlight for 12 hours.
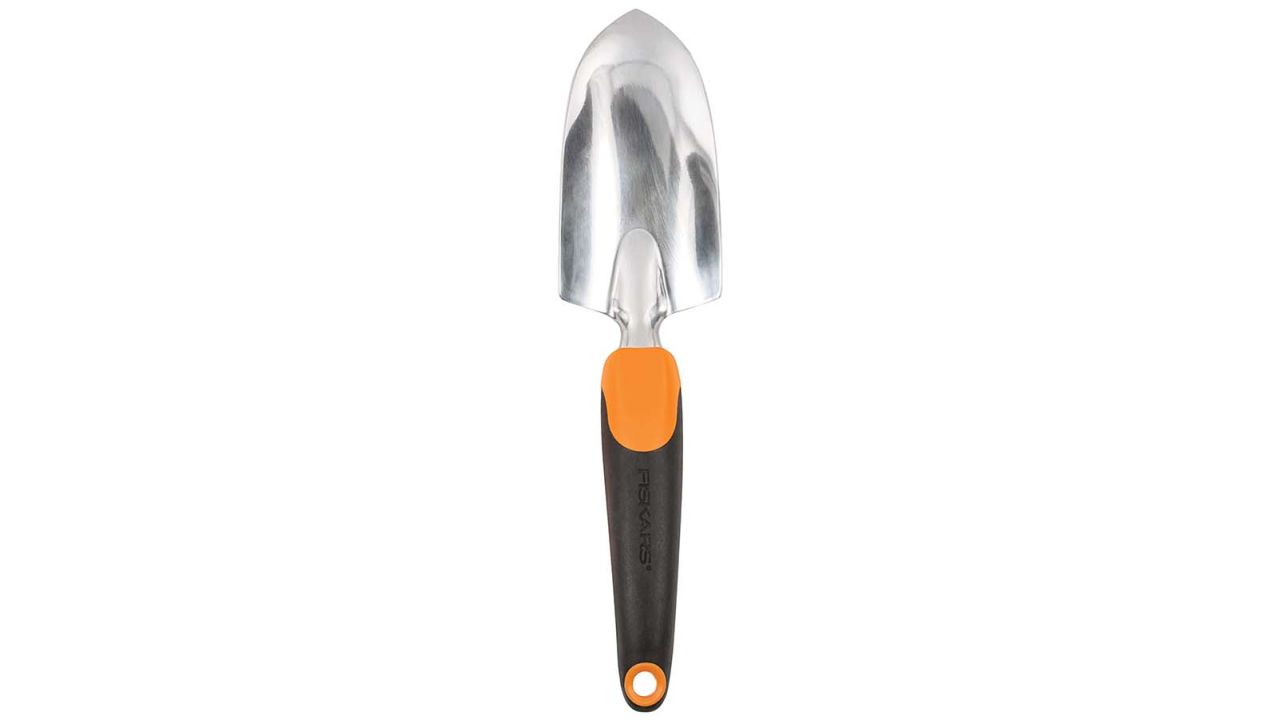
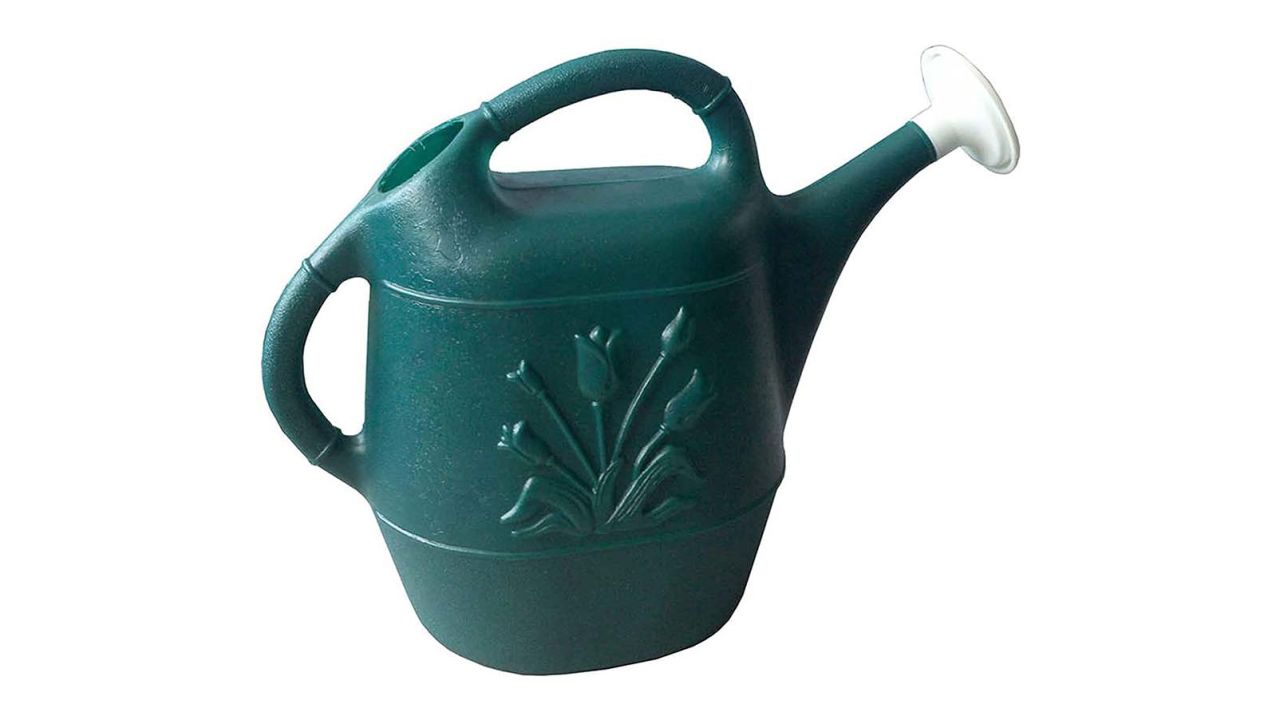
“I get everything I need done in the garden with a trowel, pruners, pitchfork, rake, spade, pickax, garden hose, watering can, wheelbarrow and organic fertilizer (store-bought or homemade),” Brigantti says. This hand trowel has a polished aluminum head to resist rust so it will last for years to come.
Easily aerate the ground, harvest crops and transport mulch with this bestselling pitchfork, which earns high marks for its durability. You can also use it to uproot pesky weeds, inserting the tines next to the weed and lifting to uproot the plant.
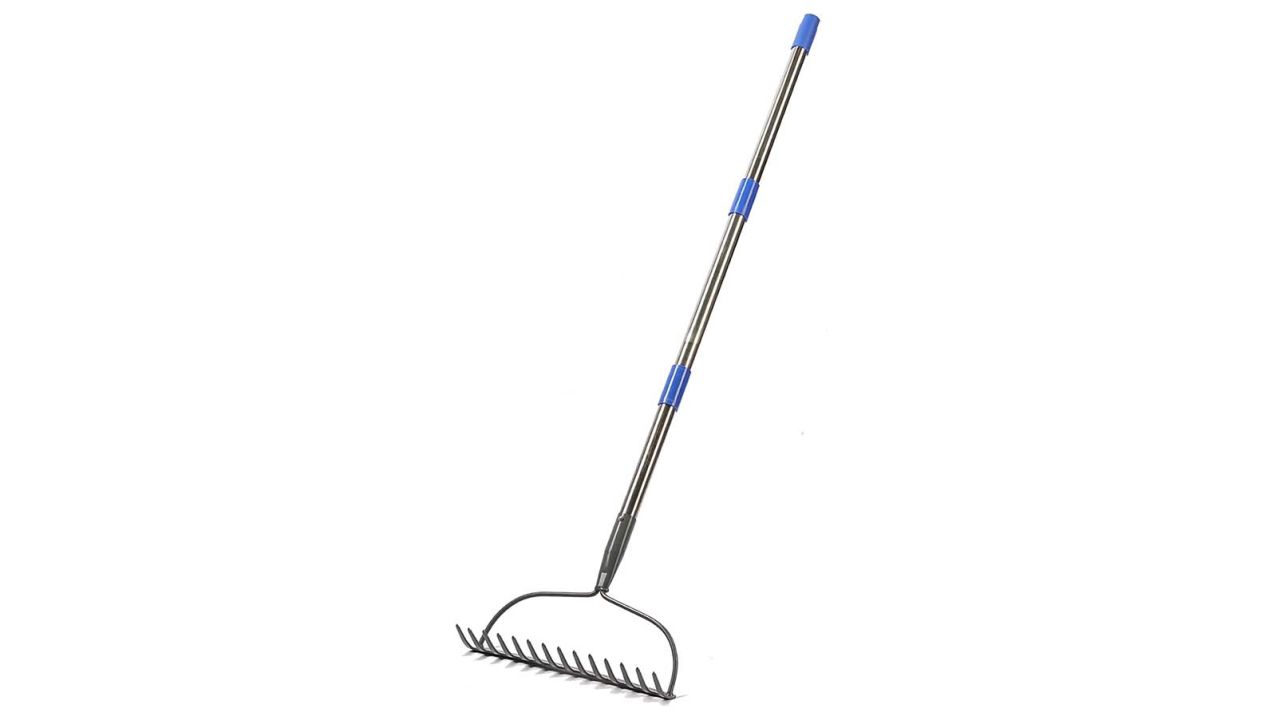
A good garden rake like this top seller makes spreading soil evenly across your garden a breeze. You can also break up clumps of dry dirt and add compost, peat moss or leaf mold to keep the soil loose and easy to work.
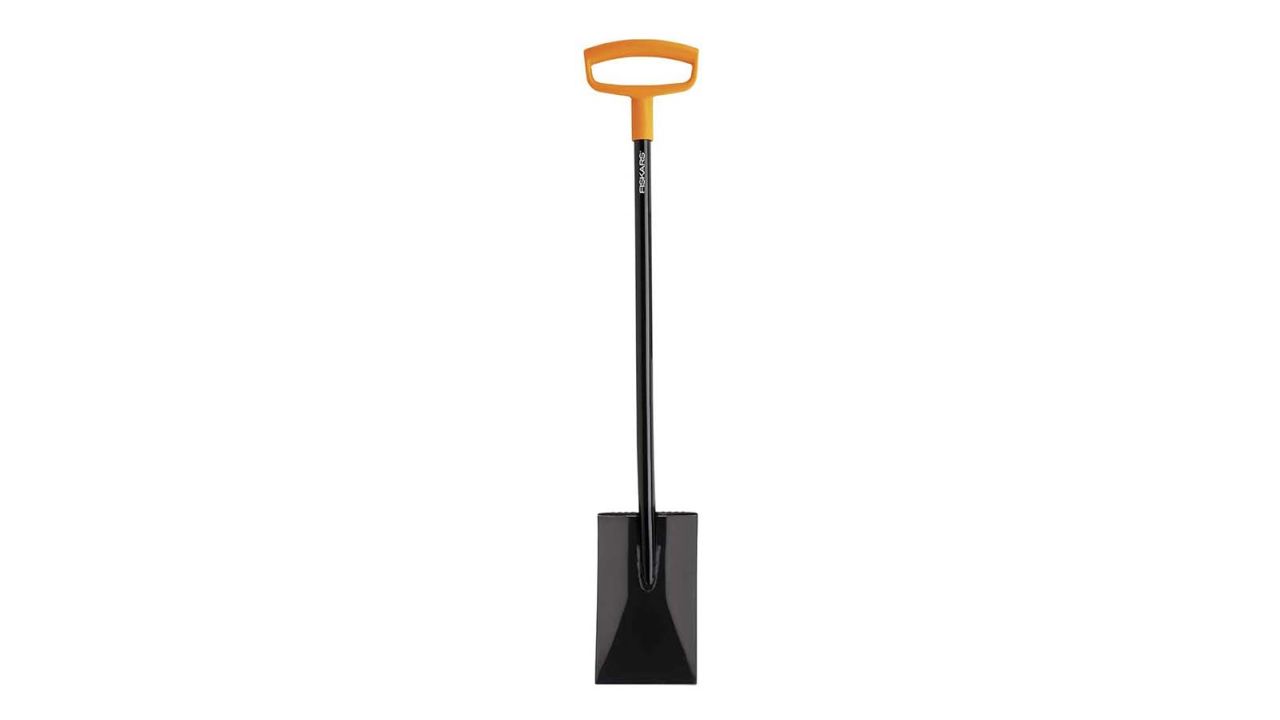
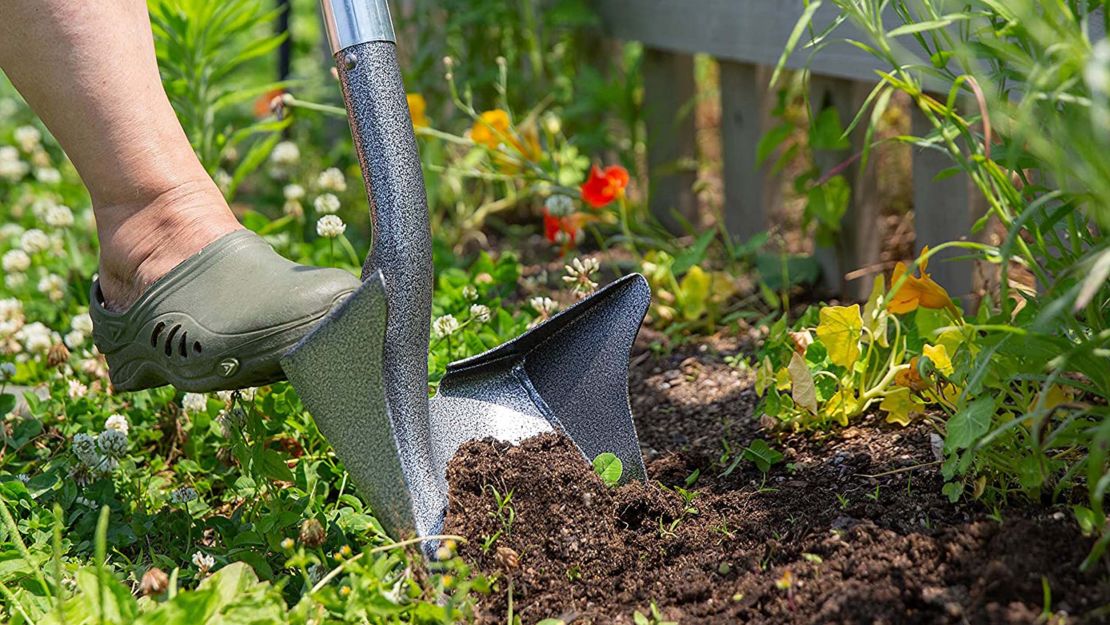
For deep digging, nothing beats a good spade like this one from Fiskars, which has an extra-large D-handle to ensure a firm grip.
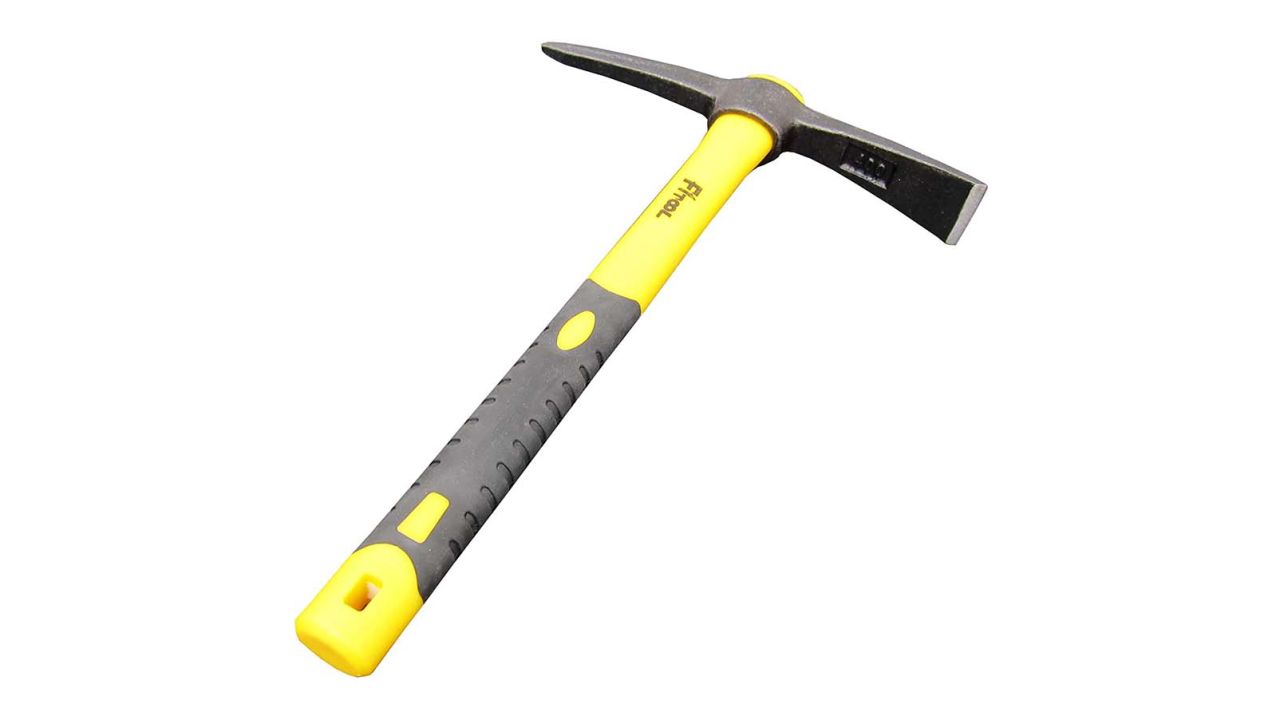
Break up tough, compacted soil and get those stubborn weeds out with this small pick, which is lighter than a spading fork.
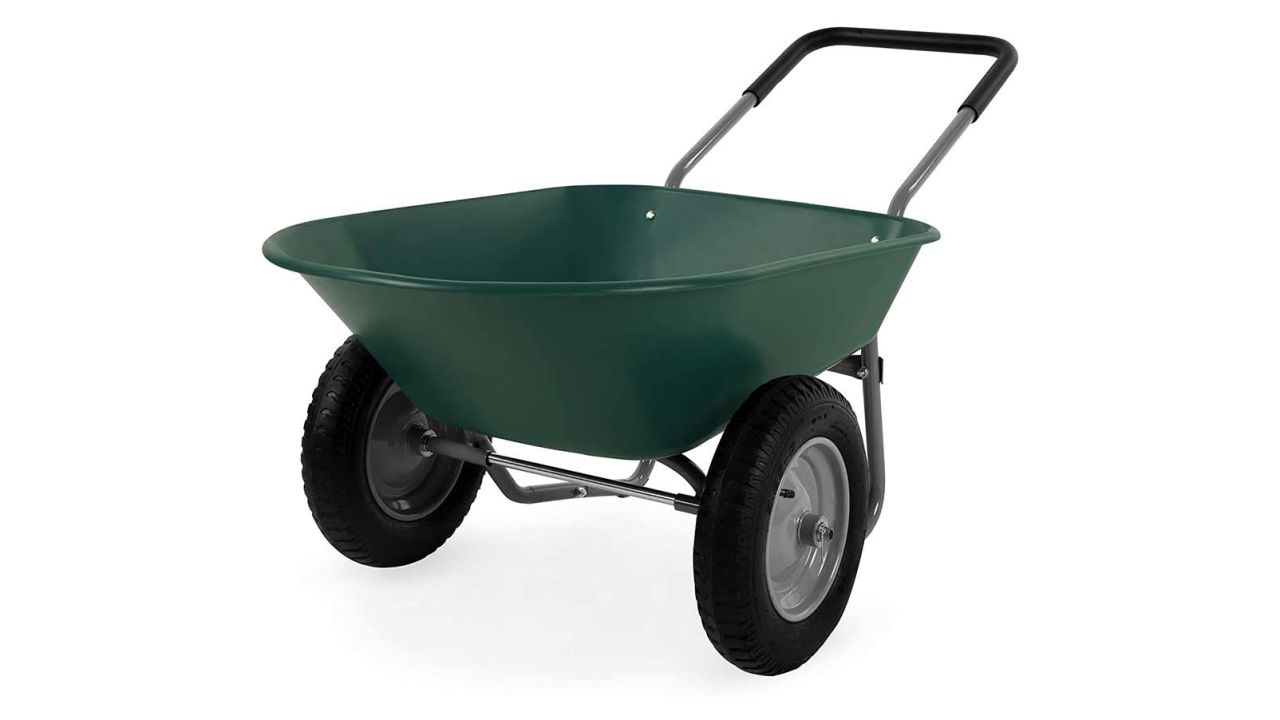
“In addition to a sunlight-measuring device and basic digging tools, you’ll eventually want a wheelbarrow for general hauling,” Toht says. This one makes moving soil a breeze.
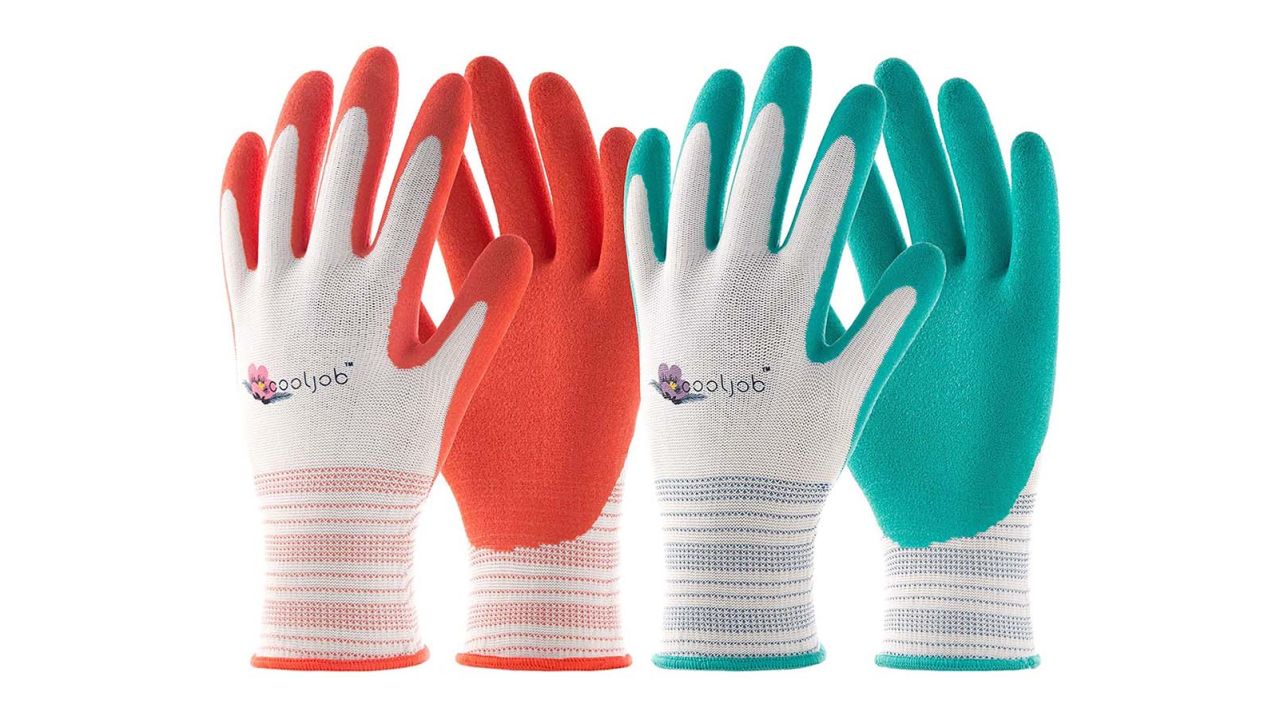
Toht also recommends getting a good pair of gloves like these from CoolJob that are lightweight and breathable.
“Tall people who find the typical 48- or 49-inch handles on garden tools too short will be happy to know that there are back-sparing, long-handled options,” Toht says. Case in point: This digging shovel comes in 42-, 58- and 60-inch models, the last of which is equipped with a sharpened steel blade built for piercing tough soil.
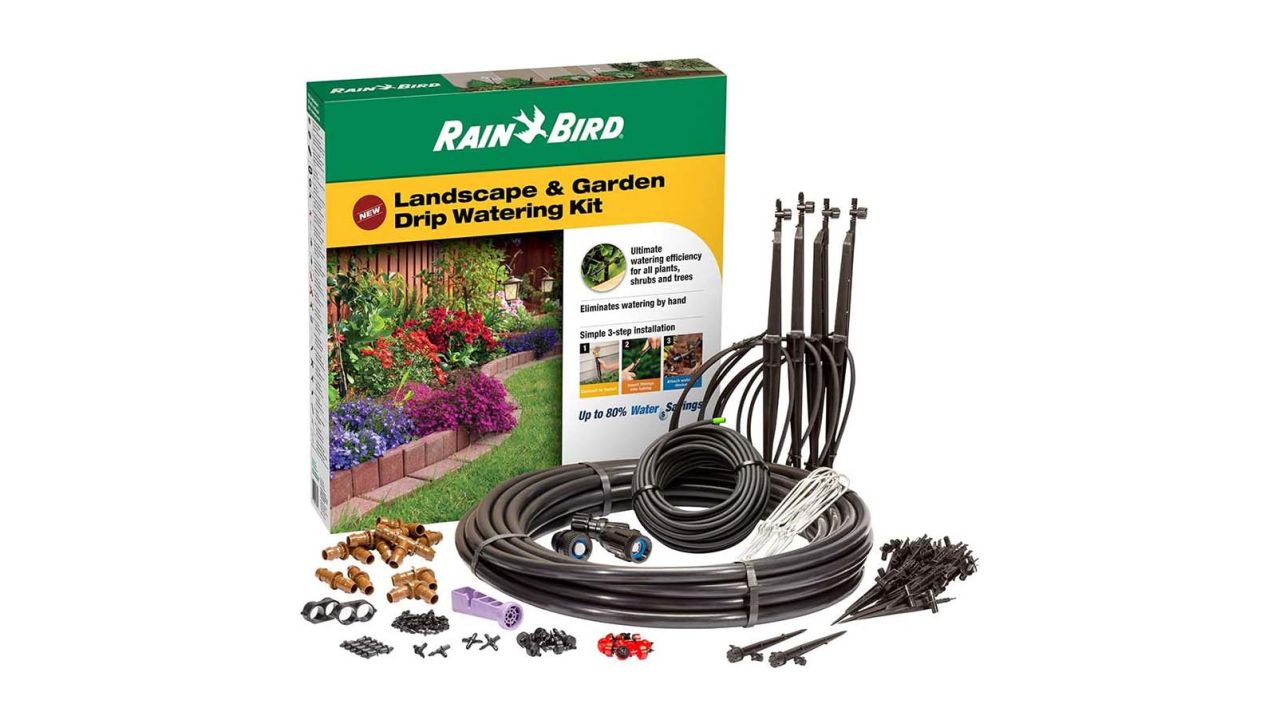
“Watering at the right time — early morning is best — is key to a successful garden,” Toht says. “Microirrigation systems are inexpensive and have timers that hook up directly to your outdoor faucet. Attaching the tiny emitters to the discreet quarter-inch black tubing is much like playing with Lego — very easy to install. Rain Bird offers a timer and a kit of tubing and emitters to get you started.”
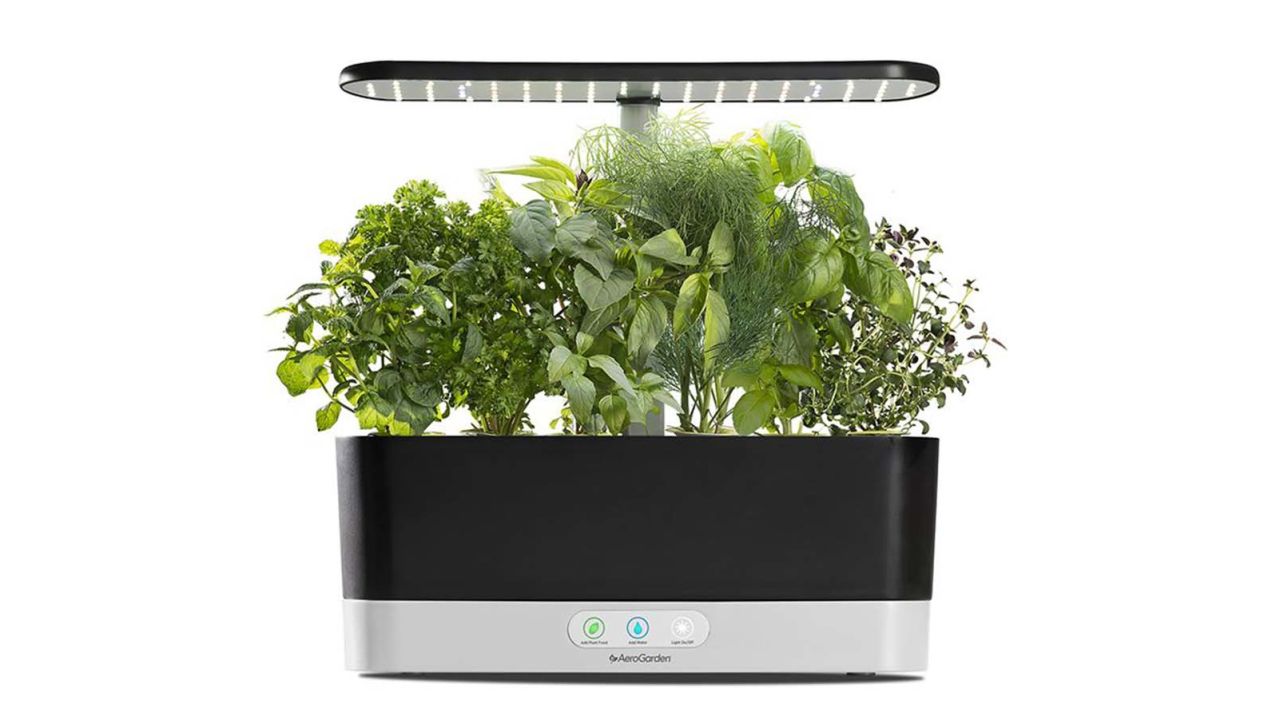
“Some really easy growing herbs are rosemary, thyme and lavender,” says Brigantti. “These herbs are a lot less maintenance than veggies. I plant them in full sun and just let them be! They grow wild!“ If you don’t have room outside, there are also plenty of indoor options for growing herbs.
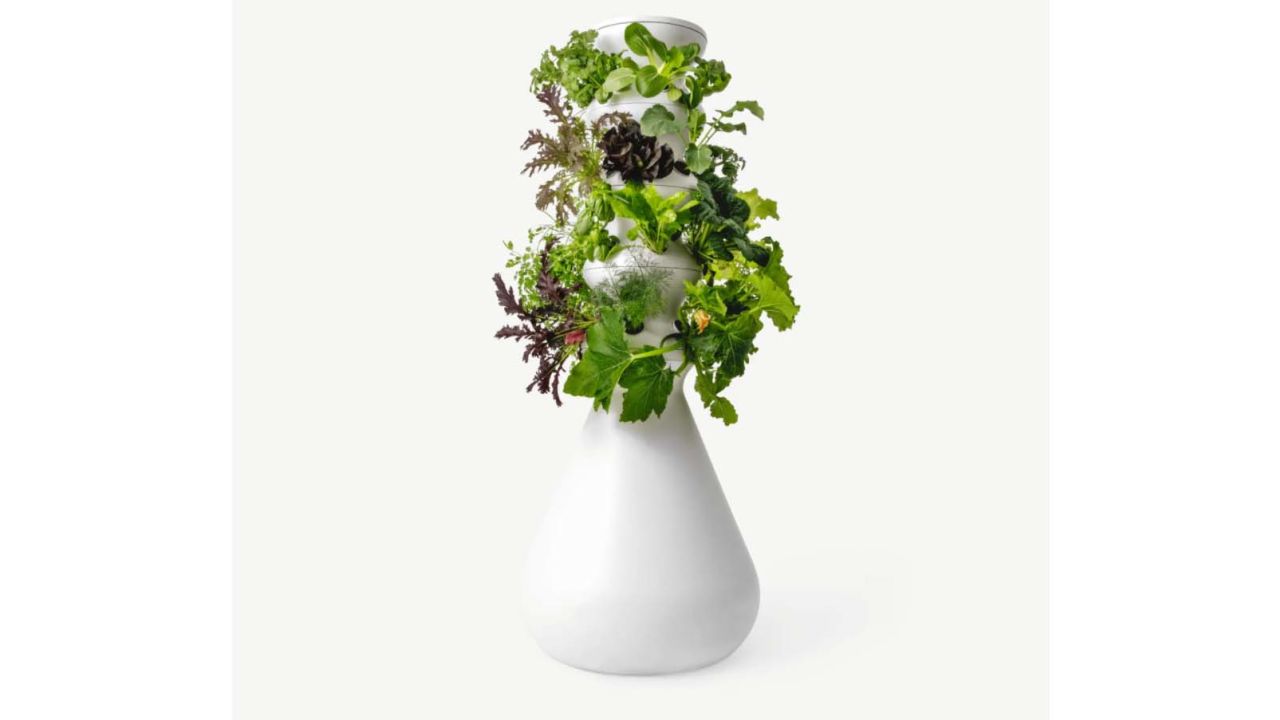
The hydroponic gardens from Lettuce Grow allow you to grow fruits, vegetables and herbs in one tower that can live inside or outside.
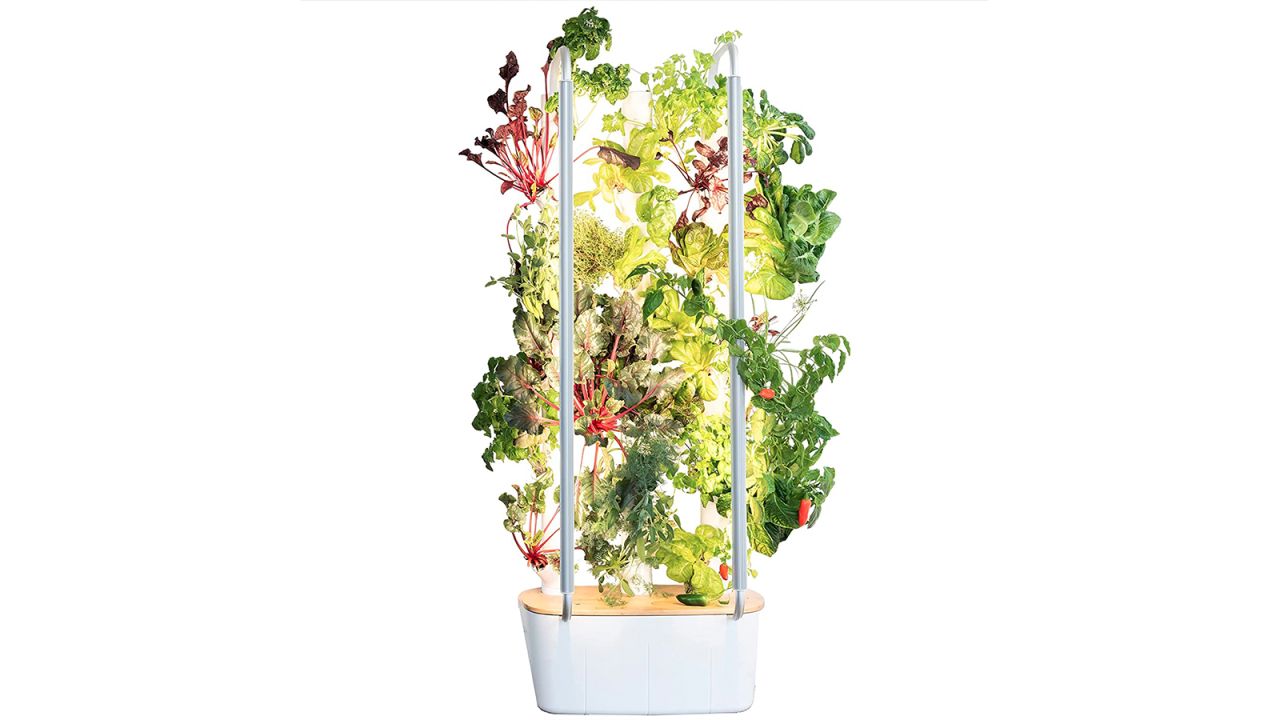
If you have deep pockets and live in an apartment, this user-friendly hydroponic garden is an option for novice and experienced green thumbs. While we tested (and loved) the older 2.0 version, you can also opt for the latest model ($849), which is more energy efficient.
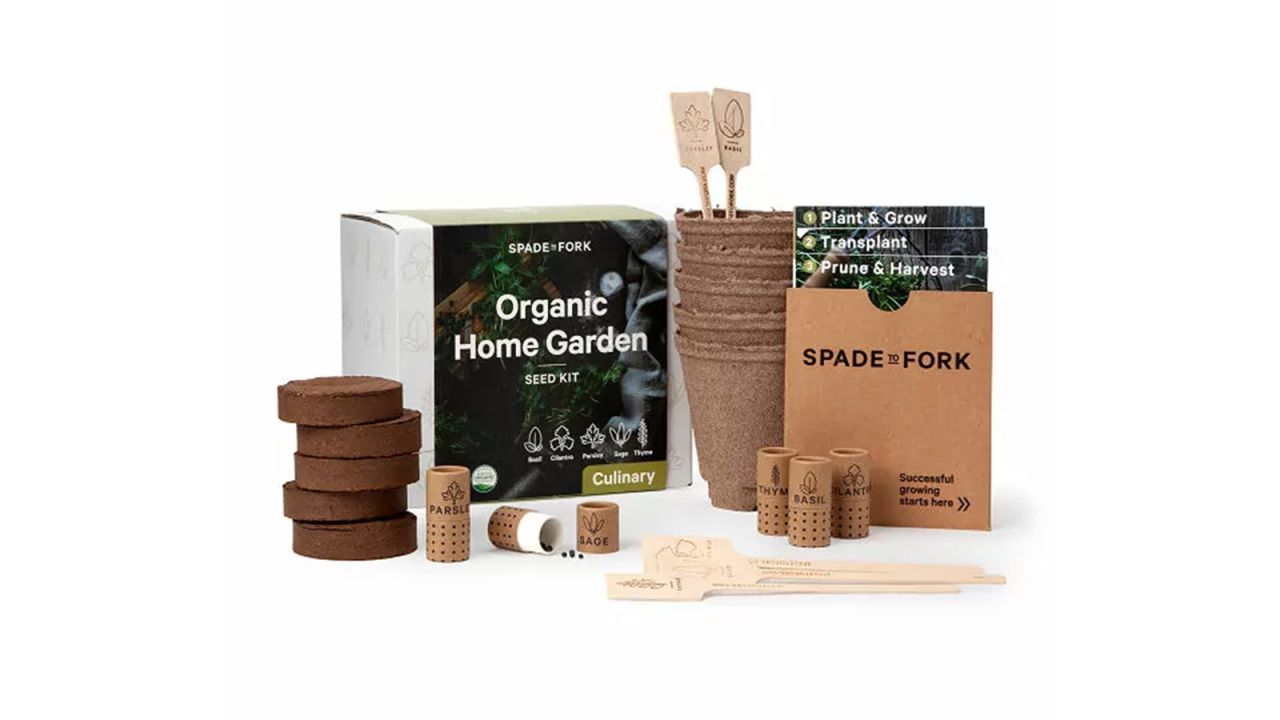
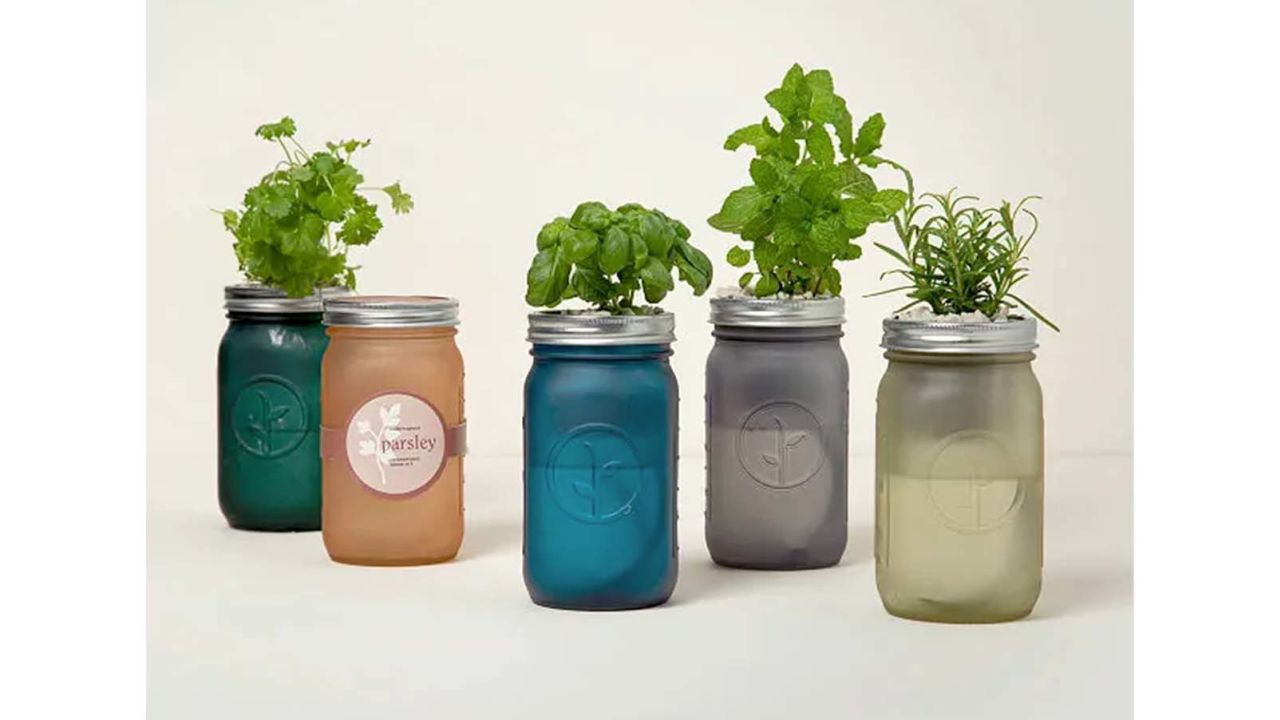
This cute kit from Uncommon Goods contains everything you need to plant basil, cilantro, parsley, sage and thyme right at home.
You only need a windowsill to grow this herb garden, which comes with Mason jars that grow herbs without much maintenance.
“Regarding soil, plants love rich earth that is loose and crumbly,” says Toht. “To do a quick test of your soil, grab a handful and squeeze. Overly sandy soil will fall apart. Clay will squeeze into a heavy wad and have an oily feel to it. Loam — the right stuff — holds its shape just a bit and has a smooth, silky feel. Compost can improve sandy or clay soils over time, but you may choose to buy in a load of black dirt to get started.”
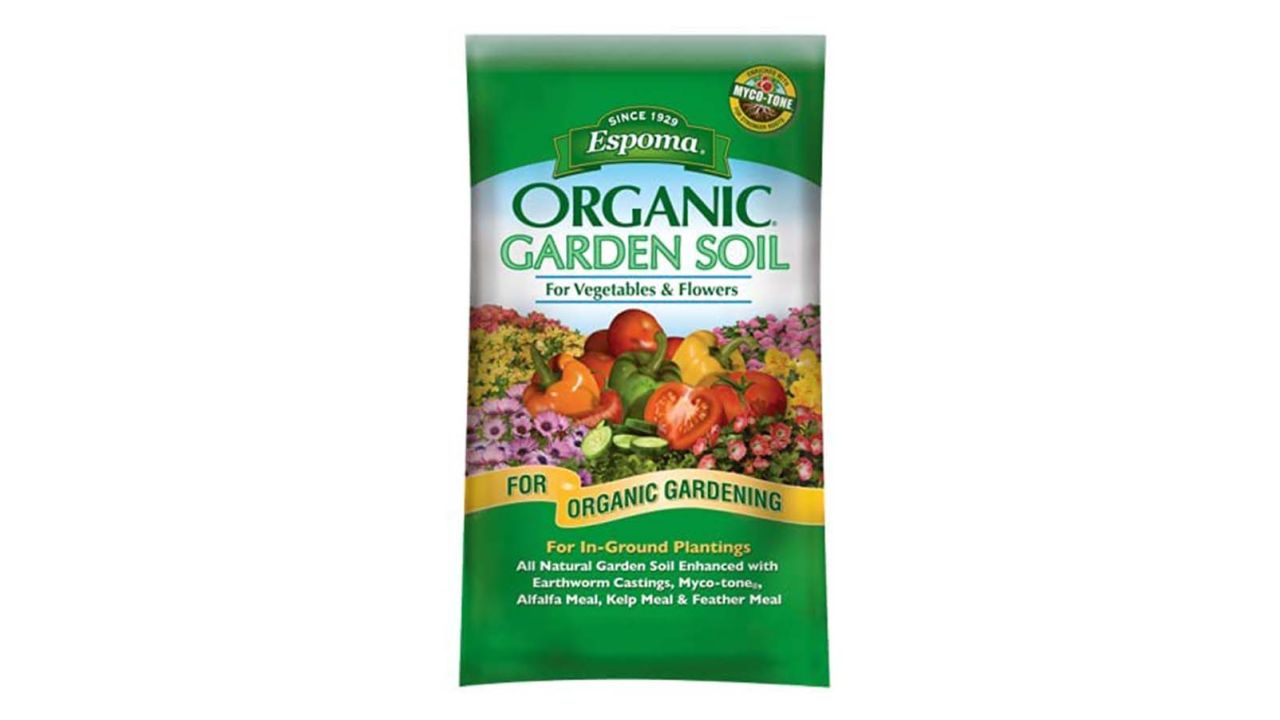
If you don’t have a compost pile and you’re going to buy your own soil, Brigantti has a favorite brand. “I absolutely love all Espoma products. They’re organic and safe for the environment and soil,” Brigantti says. “I always urge people to NEVER use anything synthetic or chemical-based in the garden. It can be incredibly harmful to the ecology of the soil and wildlife as well.”
This Espoma soil is organic and has a mix of sphagnum peat moss, peat humus and earthworm castings to help keep your soil airy and light.
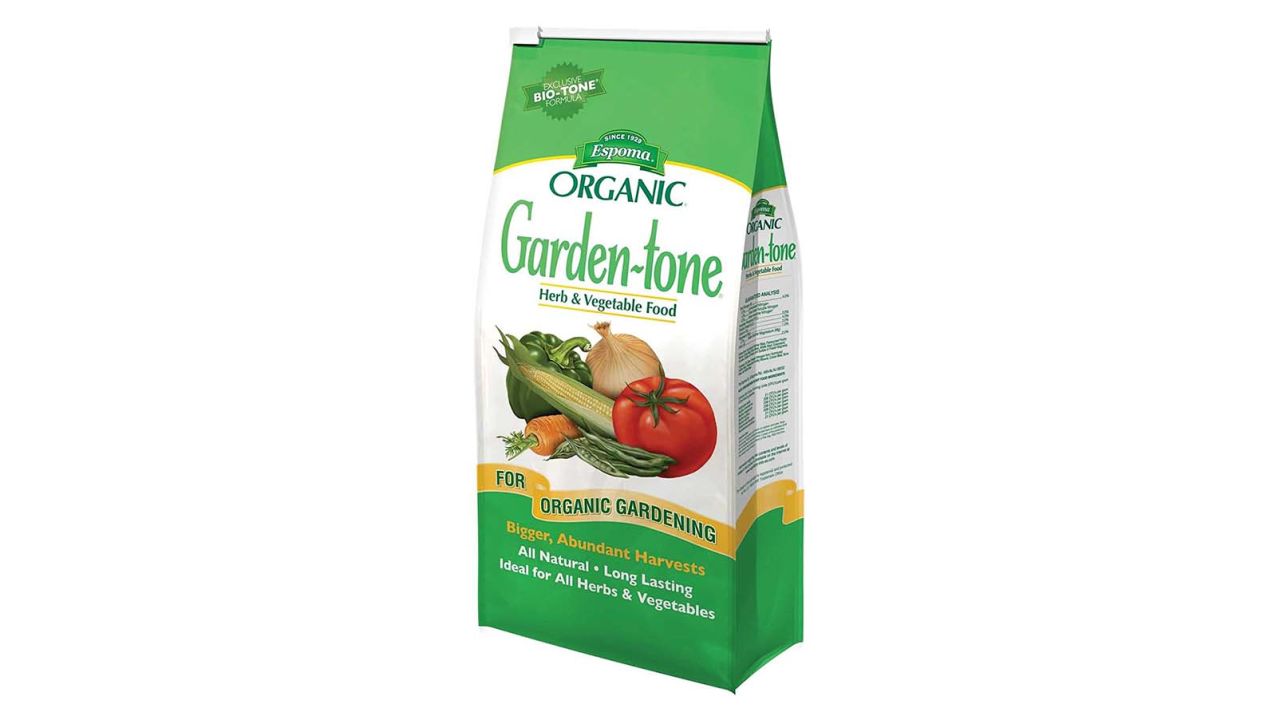
If you want to give your plants some extra love, use this herb and vegetable food to ensure they get all the nutrients they need.
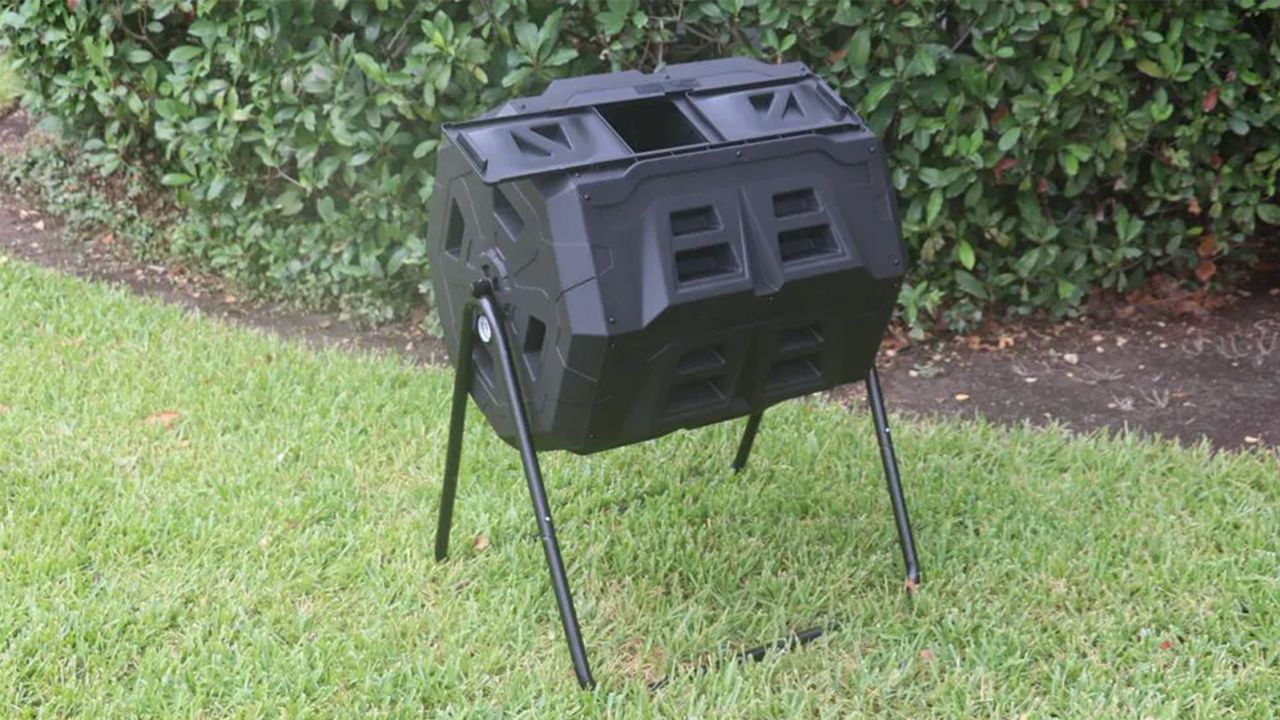
You don’t need to have access to a backyard (or an expensive machine) to compost. Elevated compost bins like this one can go on your patio, rooftop or balcony. This dual-chamber model also has the added benefit of an included thermometer.
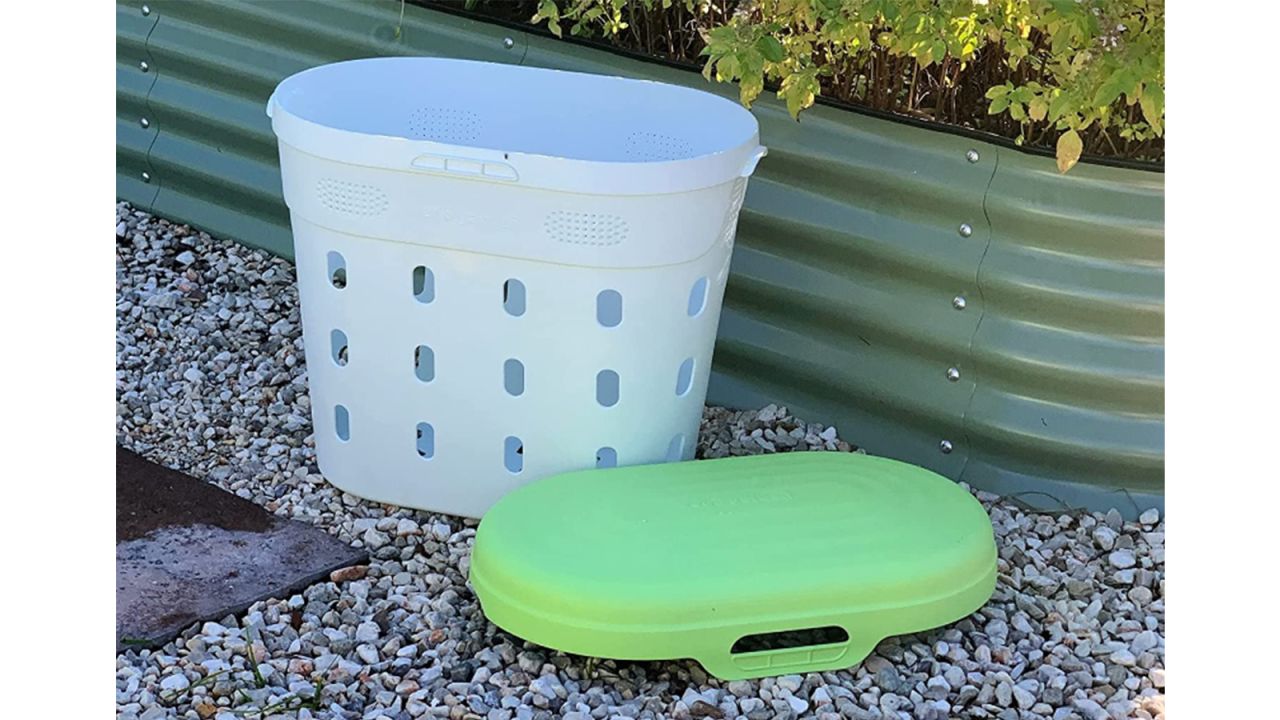
For a low-profile composting option, opt for an in-ground composter, which breaks down food scraps with the help of worms and soil. Add this one to a raised bed, fill it with your organic garbage and you’ll have a perfectly integrated system for nutrient-rich soil.
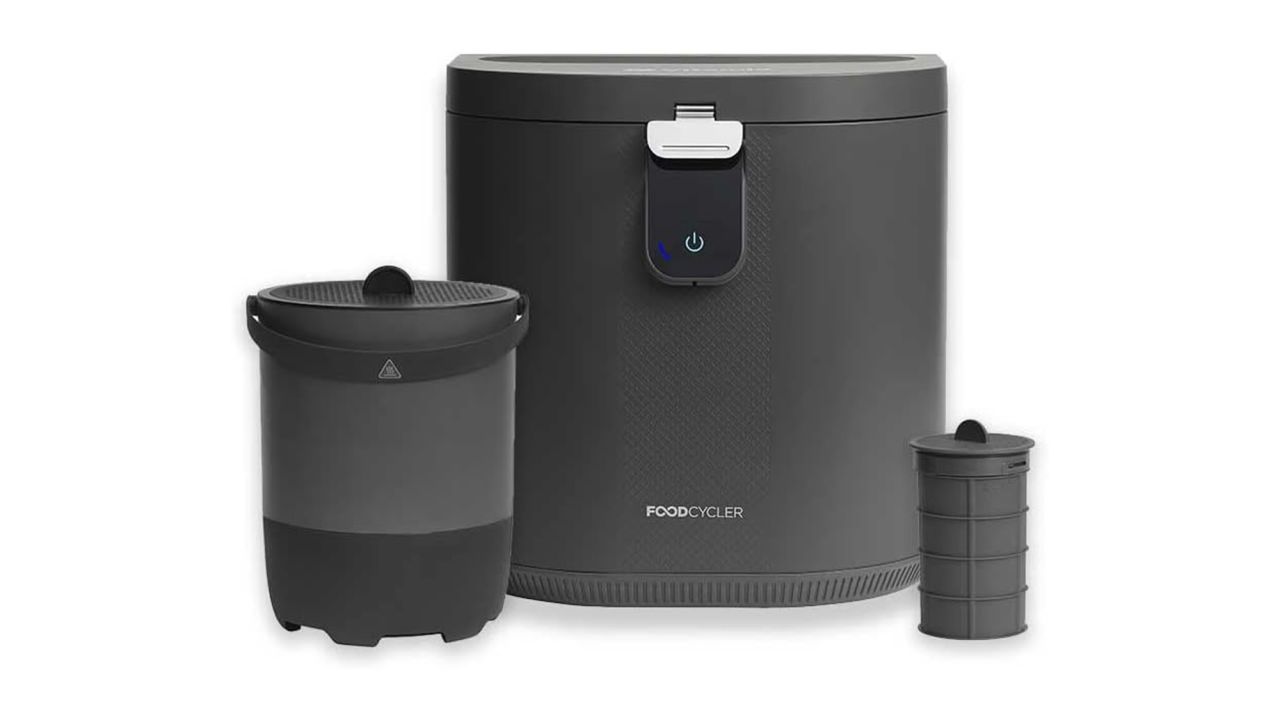
Countertop composters are expensive — so much so that we recommend you seek out other options, like free municipal composting or a private service. But if those aren’t available in your area, we found that this device did a great job converting household food waste into fertilizer.
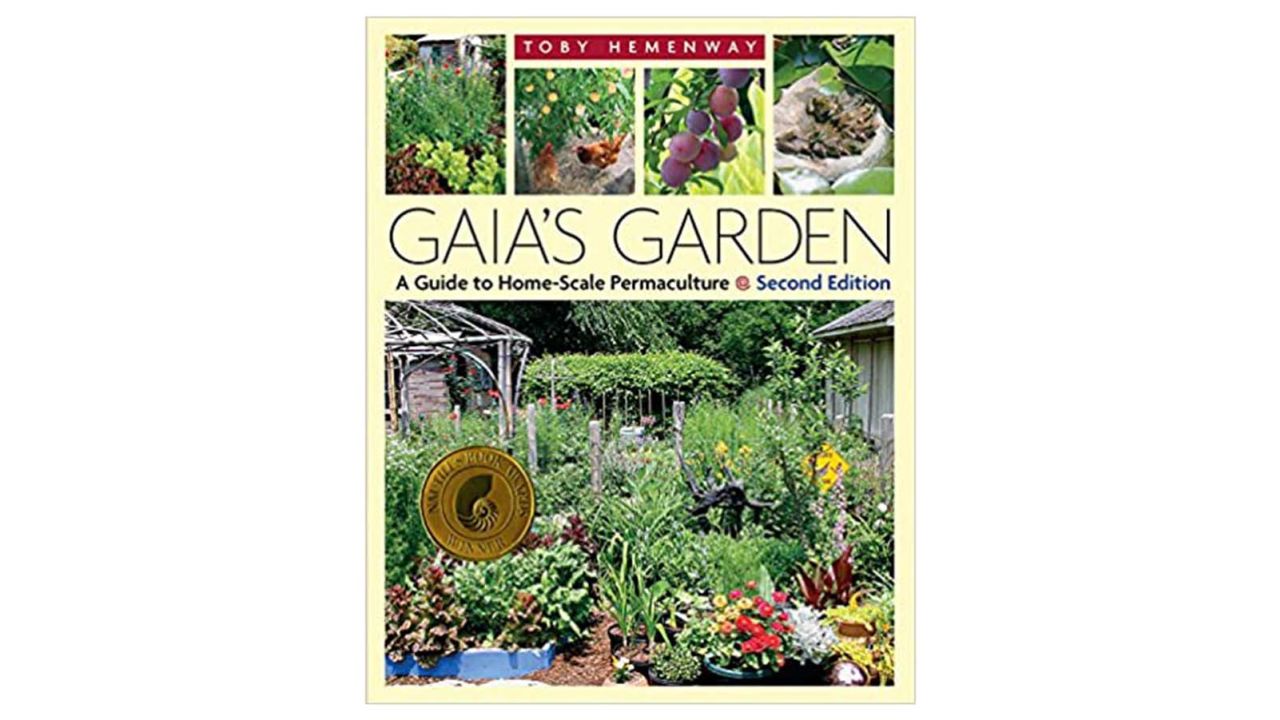
“An INCREDIBLE garden book that changed my entire perspective on gardening and taught me so much is ‘Gaia’s Garden’ by Toby Hemenway,” Brigantti says. “It’s everything you need to know about permaculture, my favorite way to garden.”
