If you want the benefits of a modern AI chatbot without having to send your data to the Internet, you need to run a large language model on your PC.
Large language models (LLMs) are advanced AI systems designed to understand and generate text, code, and perform a variety of natural language processing tasks. These tools have transformed the way we use computers, making tasks like content creation, coding and problem-solving much easier.
While cloud-based LLMs like ChatGPT and Claude are widely used and some of the best AI chatbots around, running these models directly on your computer comes with key benefits like better privacy, more control, and lower costs. With local deployment, your data stays on your device, and you don’t need an internet connection or subscription fees to use the AI.
Ready to get started? This guide will walk you through the basics of what LLMs are, why you might want to run one locally and how to set one up on Windows and Mac, in as simple and straightforward a way as possible!
What is a Large Language Model (LLM)?
A large language model is a deep learning algorithm trained on massive amounts of text data to process and generate natural language. These models use advanced neural network architectures to understand context, detect sentiment, and generate human-like responses across various applications.
LLMs can perform an impressive range of tasks without requiring additional specialized training. They excel at understanding complex queries and can generate coherent, contextually appropriate outputs in multiple formats and languages.
The versatility of LLMs extends beyond simple text processing. They can assist with code generation, perform language translation, analyze sentiment, and even help with creative writing tasks. Their ability to learn from context makes them particularly valuable for both personal and professional use.
Why run an LLM locally?
Running LLMs locally provides enhanced privacy and security, as sensitive data never leaves your device. This is particularly crucial for businesses handling confidential information or individuals concerned about data privacy.
Local deployment offers significantly reduced latency compared to cloud-based solutions. Without the need to send data back and forth to remote servers, you can expect faster response times and more reliable performance, especially important for real-time applications.
Cost efficiency is another major advantage of local LLM deployment. While there may be initial hardware investments, running models locally can be more economical in the long run compared to subscription-based cloud services.
Key benefits of local LLM deployment include:
- Complete data privacy and control
- Reduced latency and faster response times
- No monthly subscription costs
- Offline functionality
- Customization options
- Enhanced security
- Independence from cloud services
How to run an LLM locally on Windows
Running large language models (LLMs) locally on Windows requires some specific hardware. Your PC should support AVX2 instructions (most AMD and Intel CPUs released since 2015 do, but check with your CPU manufacturer to be sure!) and have at least 16GB of RAM.
For best performance, you should also have a modern NVIDIA or AMD graphics card (like the top-of-the-line Nvidia GeForce RTX 4090) with at least 6GB of VRAM.
Fortunately, tools like LM Studio, Ollama, and GPT4All make it simple to run LLMs on Windows, offering easy-to-use interfaces and streamlined processes for downloading and using open-source models.
LM Studio
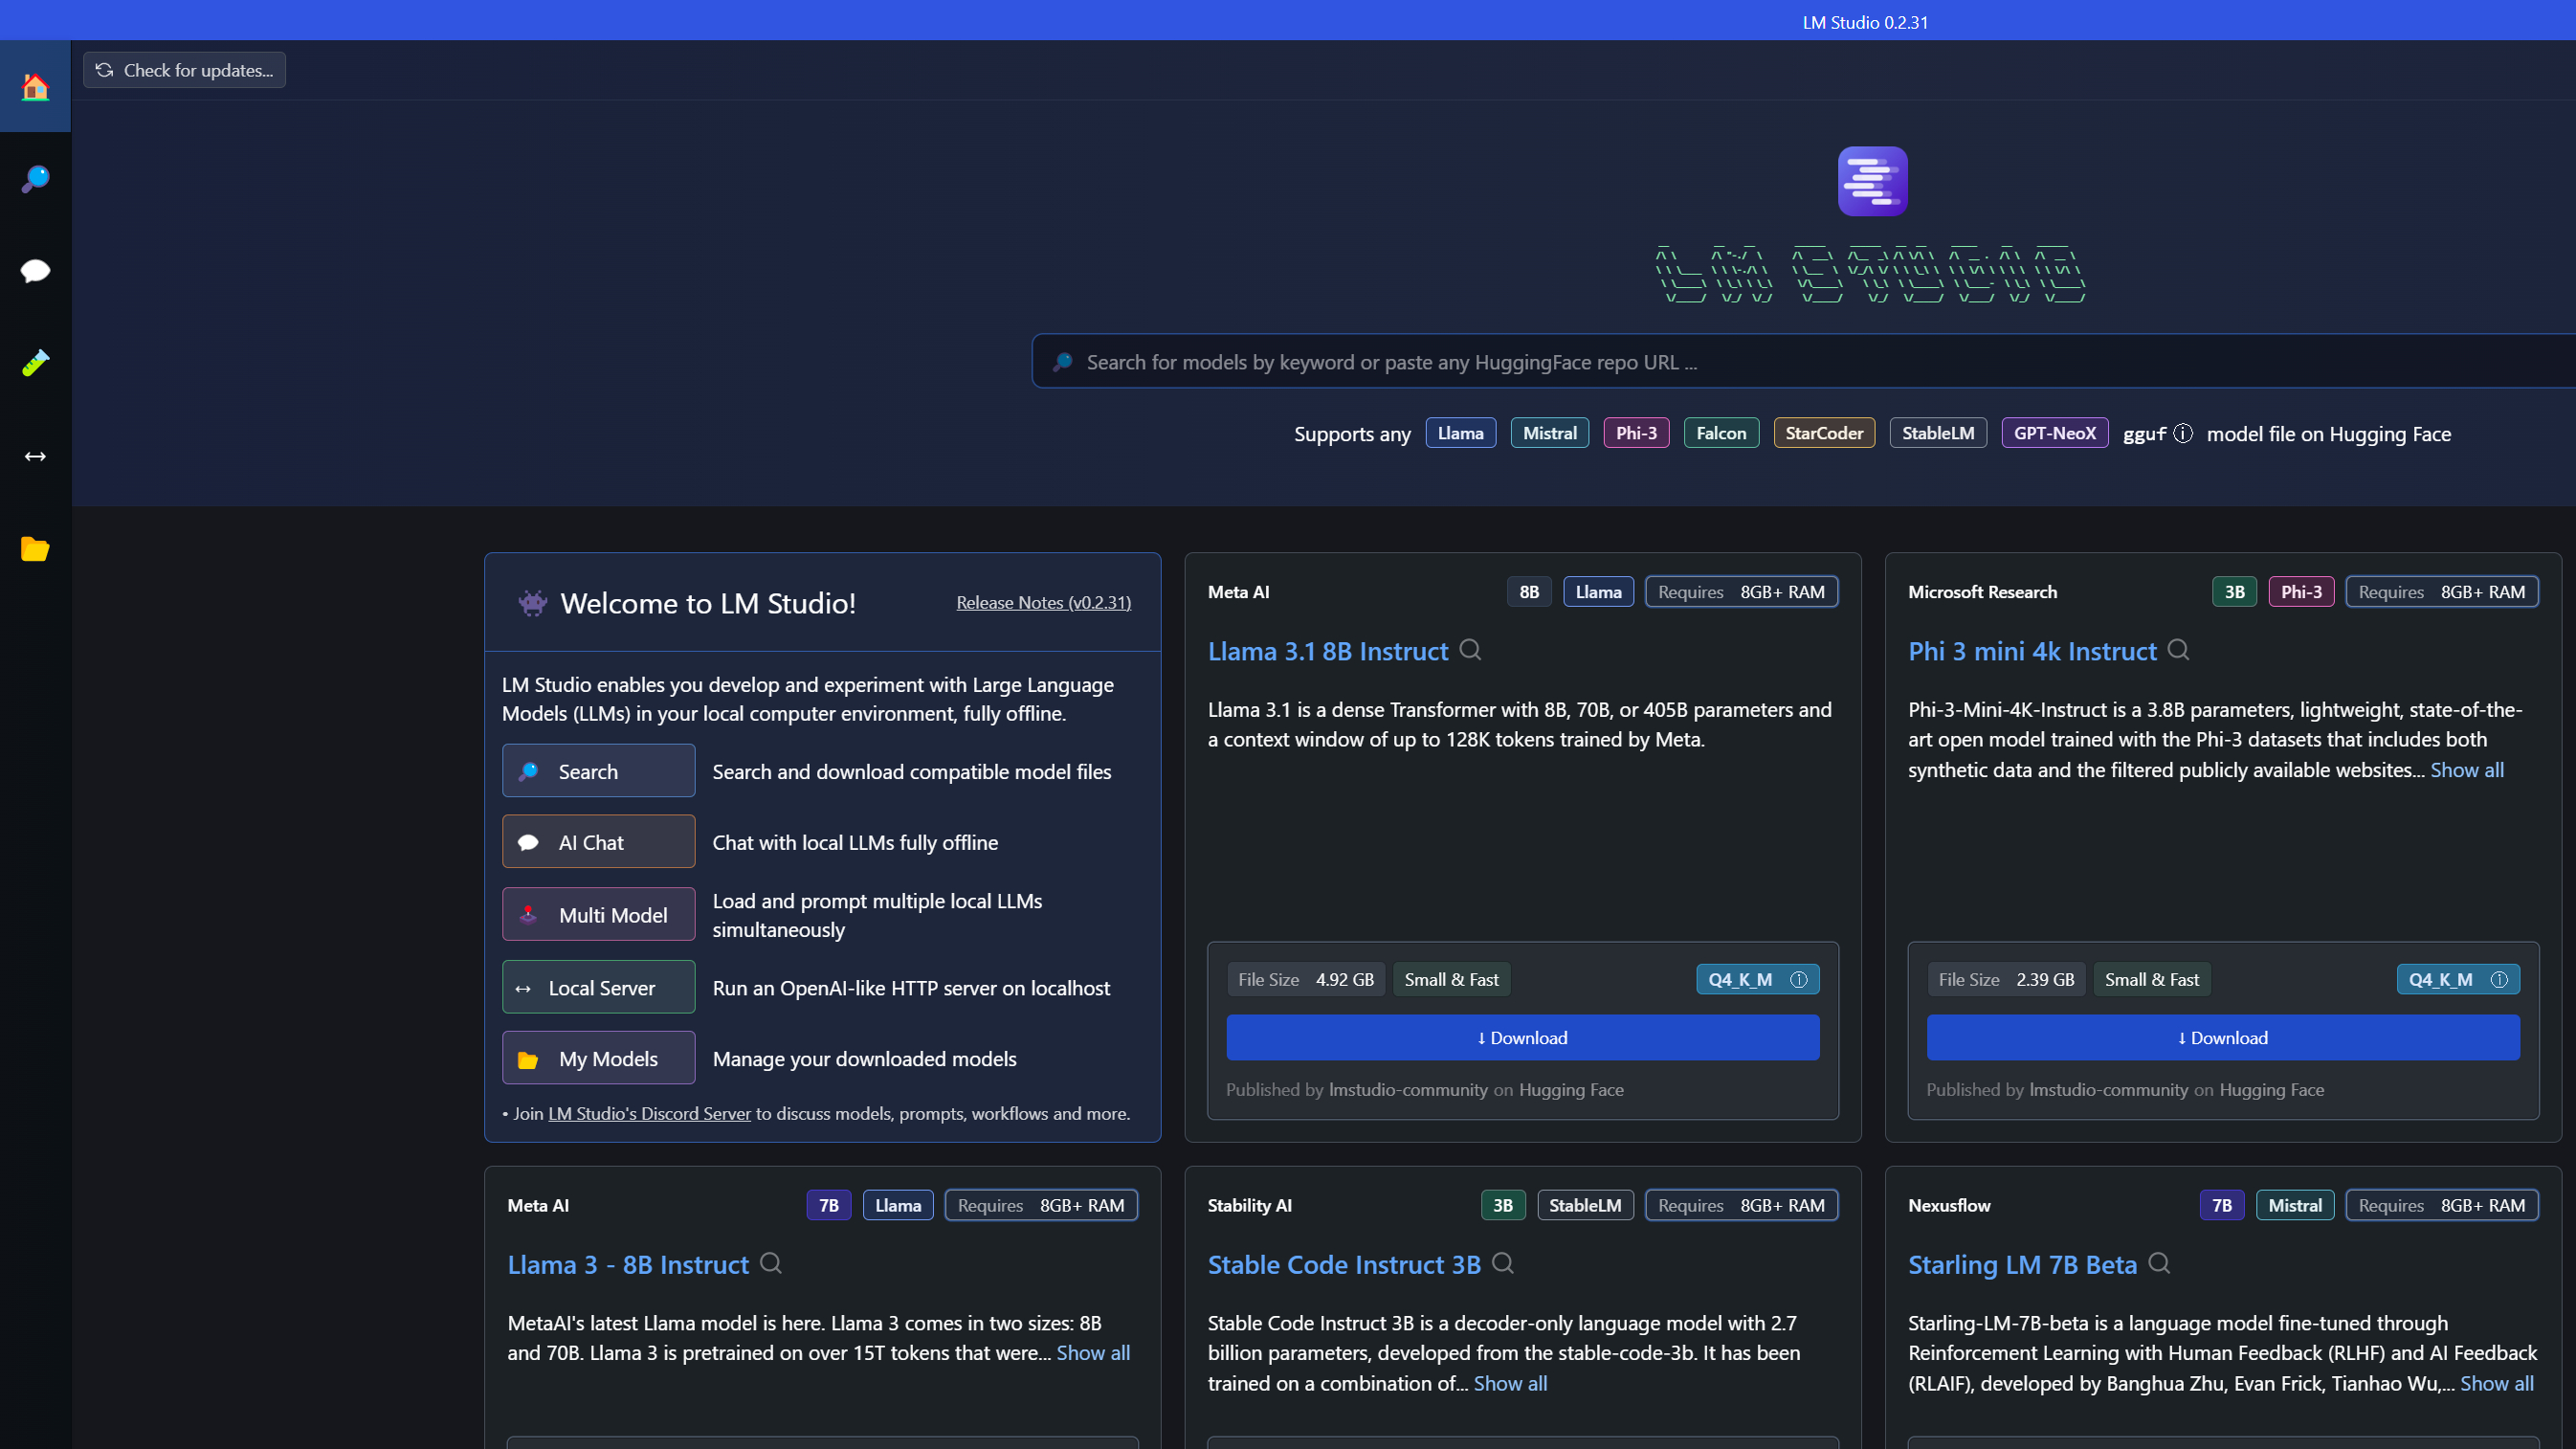
LM Studio is one of the easiest tools for running LLMs locally on Windows. Start by downloading the LM Studio installer from their website (around 400MB). Once installed, open the app and use the built-in model browser to explore available options.
When you’ve chosen a model, click the magnifying glass icon to view details and download it. Keep in mind that model files can be large, so make sure you have enough storage and a stable internet connection. After downloading, click the speech bubble icon on the left to load the model.
To improve performance, enable GPU acceleration using the toggle on the right. This will significantly speed up response times if your PC has a compatible graphics card.
Ollama
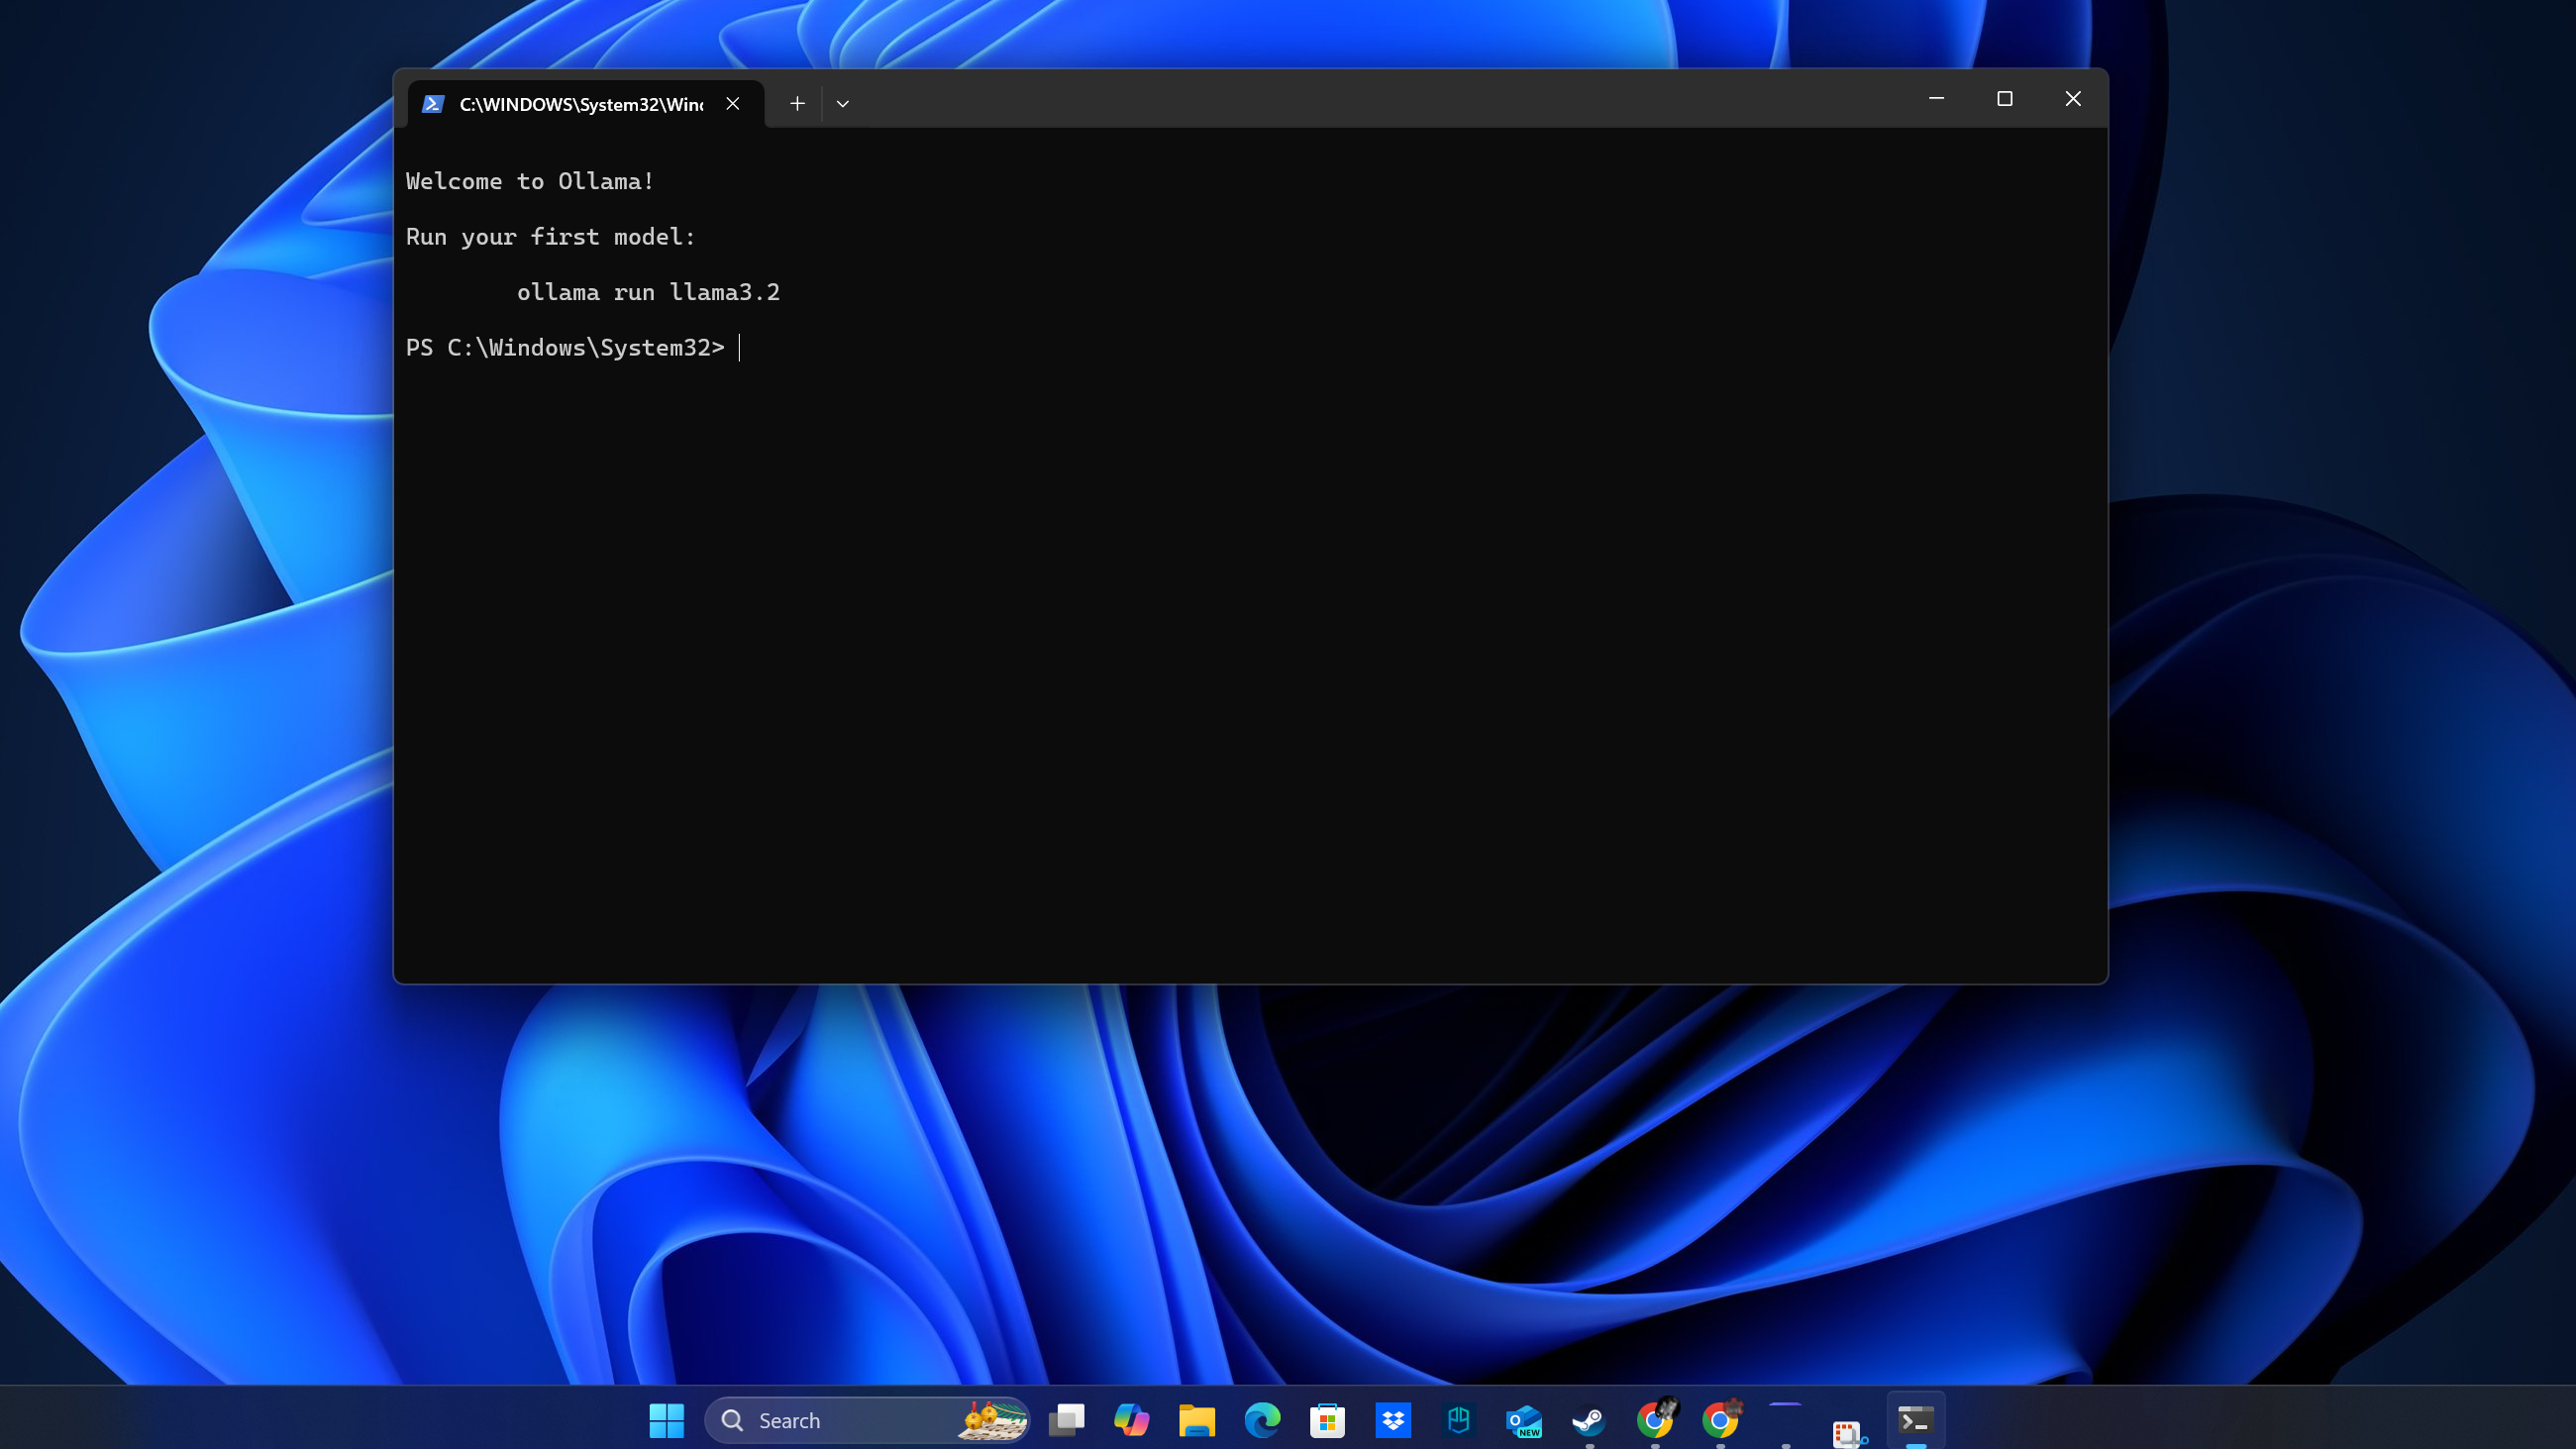
Ollama is another excellent option for running LLMs locally. Start by downloading the Windows installer from ollama.com. Once installed, Ollama runs as a background service, and you can interact with it via the command line.
To choose a model, visit the Models section on Ollama’s website. Copy the command provided for your chosen model (e.g., “ollama run”) and paste it into your command prompt. The model will automatically download and set up for local use.
Ollama supports multiple models and makes managing them easy. You can switch between models, update them, and even run multiple instances if your hardware can handle it.
How to run an LLM locally on macOS

Mac users with Apple Silicon (M1/M2/M3) chips have great options for running language models (LLMs) locally. The Neural Engine built into Apple Silicon is designed for efficient AI processing, making it well-suited for running these models without needing a dedicated GPU.
If you’re using a Mac with macOS 13.6 or newer, you can run local LLMs effectively with tools optimized for the platform. The process is also simpler on Macs compared to Windows, thanks to better integration with AI tools and the Unix-based system architecture.
Homebrew

The simplest way to get started on Mac is through Homebrew. You can download the Homebrew installer direct from the website, or you can open Terminal (press Cmd + Space, type “Terminal” and hit Enter) and install the LLM package by running ‘brew install llm’. This command sets up the basic framework needed to run local language models.
After installation, you can enhance functionality by adding plugins for specific models. For example, installing the gpt4all plugin provides access to additional local models from the GPT4All ecosystem. This modular approach allows you to customize your setup based on your needs.
LM Studio
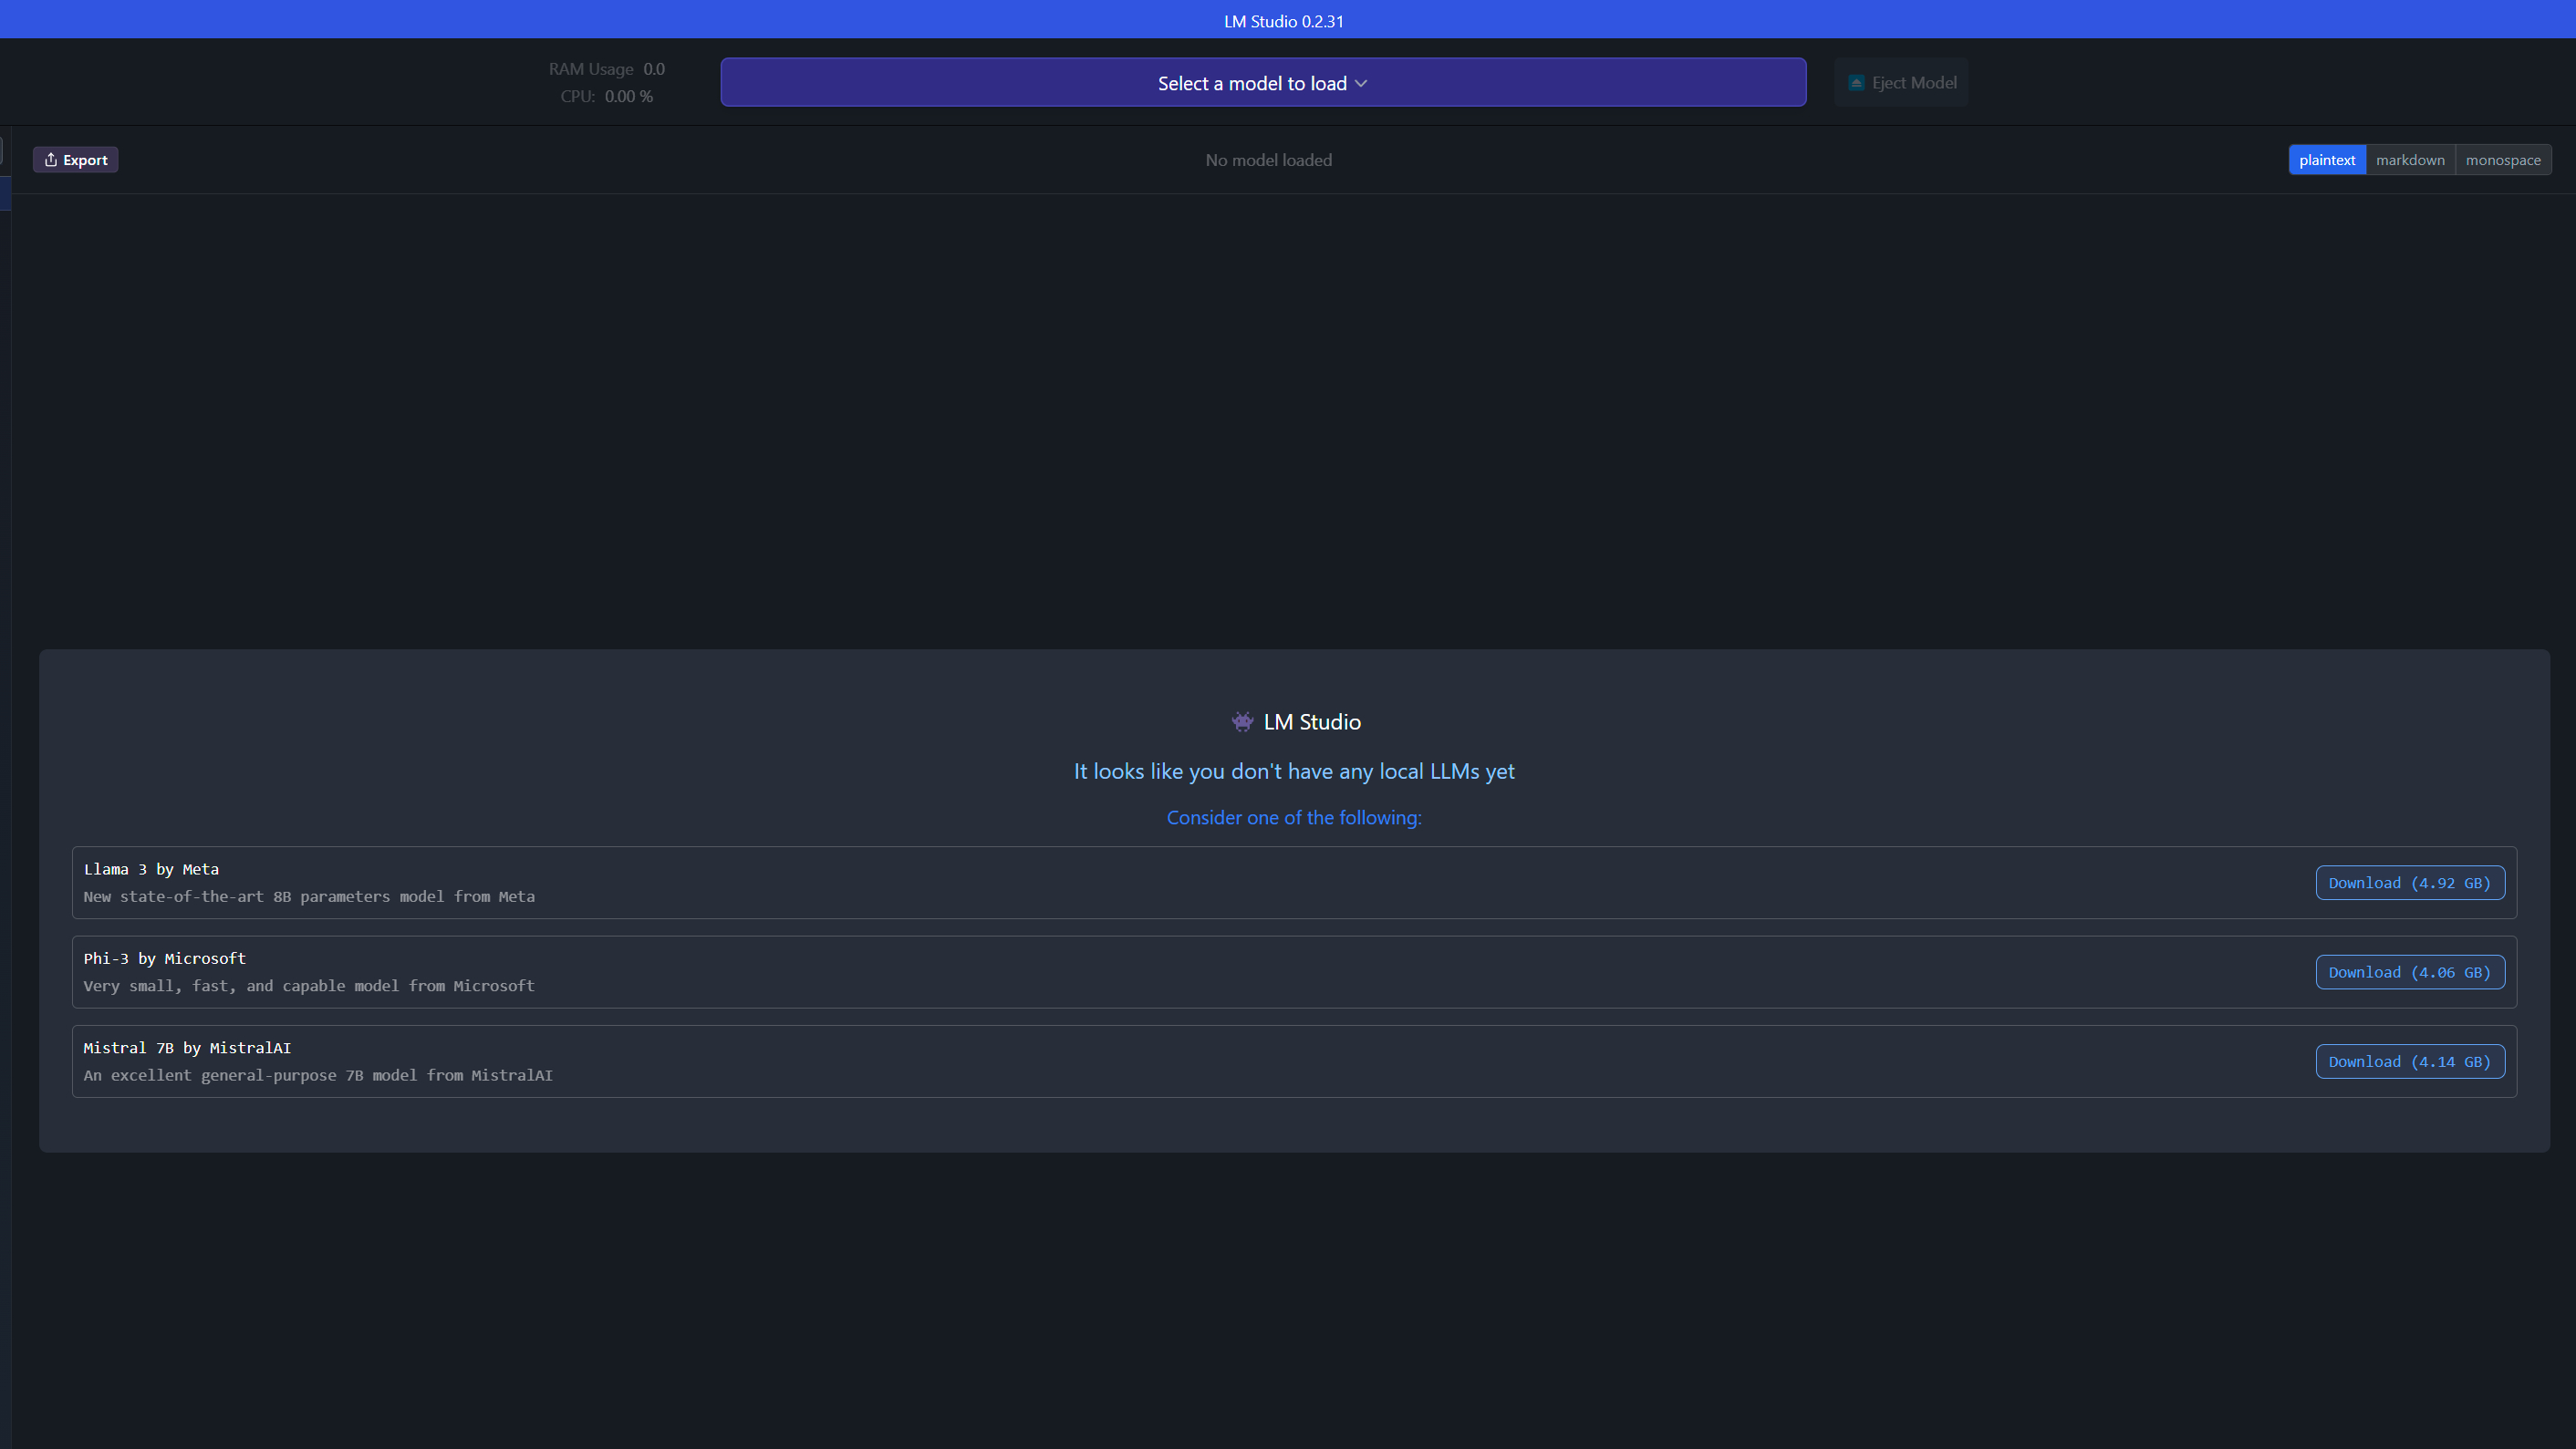
LM Studio provides a native Mac application optimized for Apple Silicon. Download the Mac version from the official website and follow the installation prompts. The application is designed to take full advantage of the Neural Engine in M1/M2/M3 chips.
Once installed, launch LM Studio and use the model browser to download your preferred language model. The interface is intuitive and similar to the Windows version, but with optimizations for macOS. Enable hardware acceleration to leverage the full potential of your Mac’s processing capabilities.
Closing thoughts

Running LLMs locally requires careful consideration of your hardware capabilities. For optimal performance, your system should have a processor supporting AVX2 instructions, at least 16GB of RAM, and ideally a GPU with 6GB+ VRAM.
Memory is the primary limiting factor when running LLMs locally. A good rule of thumb is to double your available memory and subtract 30% for model-related data to determine the maximum parameters your system can handle. For example:
- 6GB VRAM supports models up to 8B parameters
- 12GB VRAM supports models up to 18B parameters
- 16GB VRAM supports models up to 23B parameters
For Mac users, Apple Silicon (M1/M2/M3) chips provide excellent performance through their integrated Neural Engine, making them particularly well-suited for running local LLMs. You’ll need macOS 13.6 or newer for optimal compatibility.
- Privacy requirements and data sensitivity
- Available hardware resources
- Intended use case (inference vs. training)
- Need for offline functionality
- Cost considerations over time
For development purposes, it’s recommended to use orchestration frameworks or routers like LlamaIndex or Langchain to manage your local LLM deployments. These tools provide valuable features for error detection, output formatting, and logging capabilities.
Now you know everything you need to get started with installing an LLM on your Windows or Mac PC and running it locally. Have fun!


