7 things to do before applying a system update to Mac or PC
It’s a good idea to update your computer frequently for any number of reasons. You might be wanting the latest features, looking for bug fixes, or simply needing the latest security updates. Whatever your reason for updating Windows 11 or macOS Sequoia, make sure you slow down and prepare before hitting that update button.
Installing any update on your computer comes with a risk, and stories of hardware being bricked due to bad software releases are all too common these days. We’ve rounded up six things you should do before applying a system update that will hopefully prevent that from happening — and one thing that’ll definitely have your data covered if it does.
7 Check if the update is compatible with your Mac or PC
This simple step could save you a lot of time and frustration if an update isn’t showing up
Source: Apple
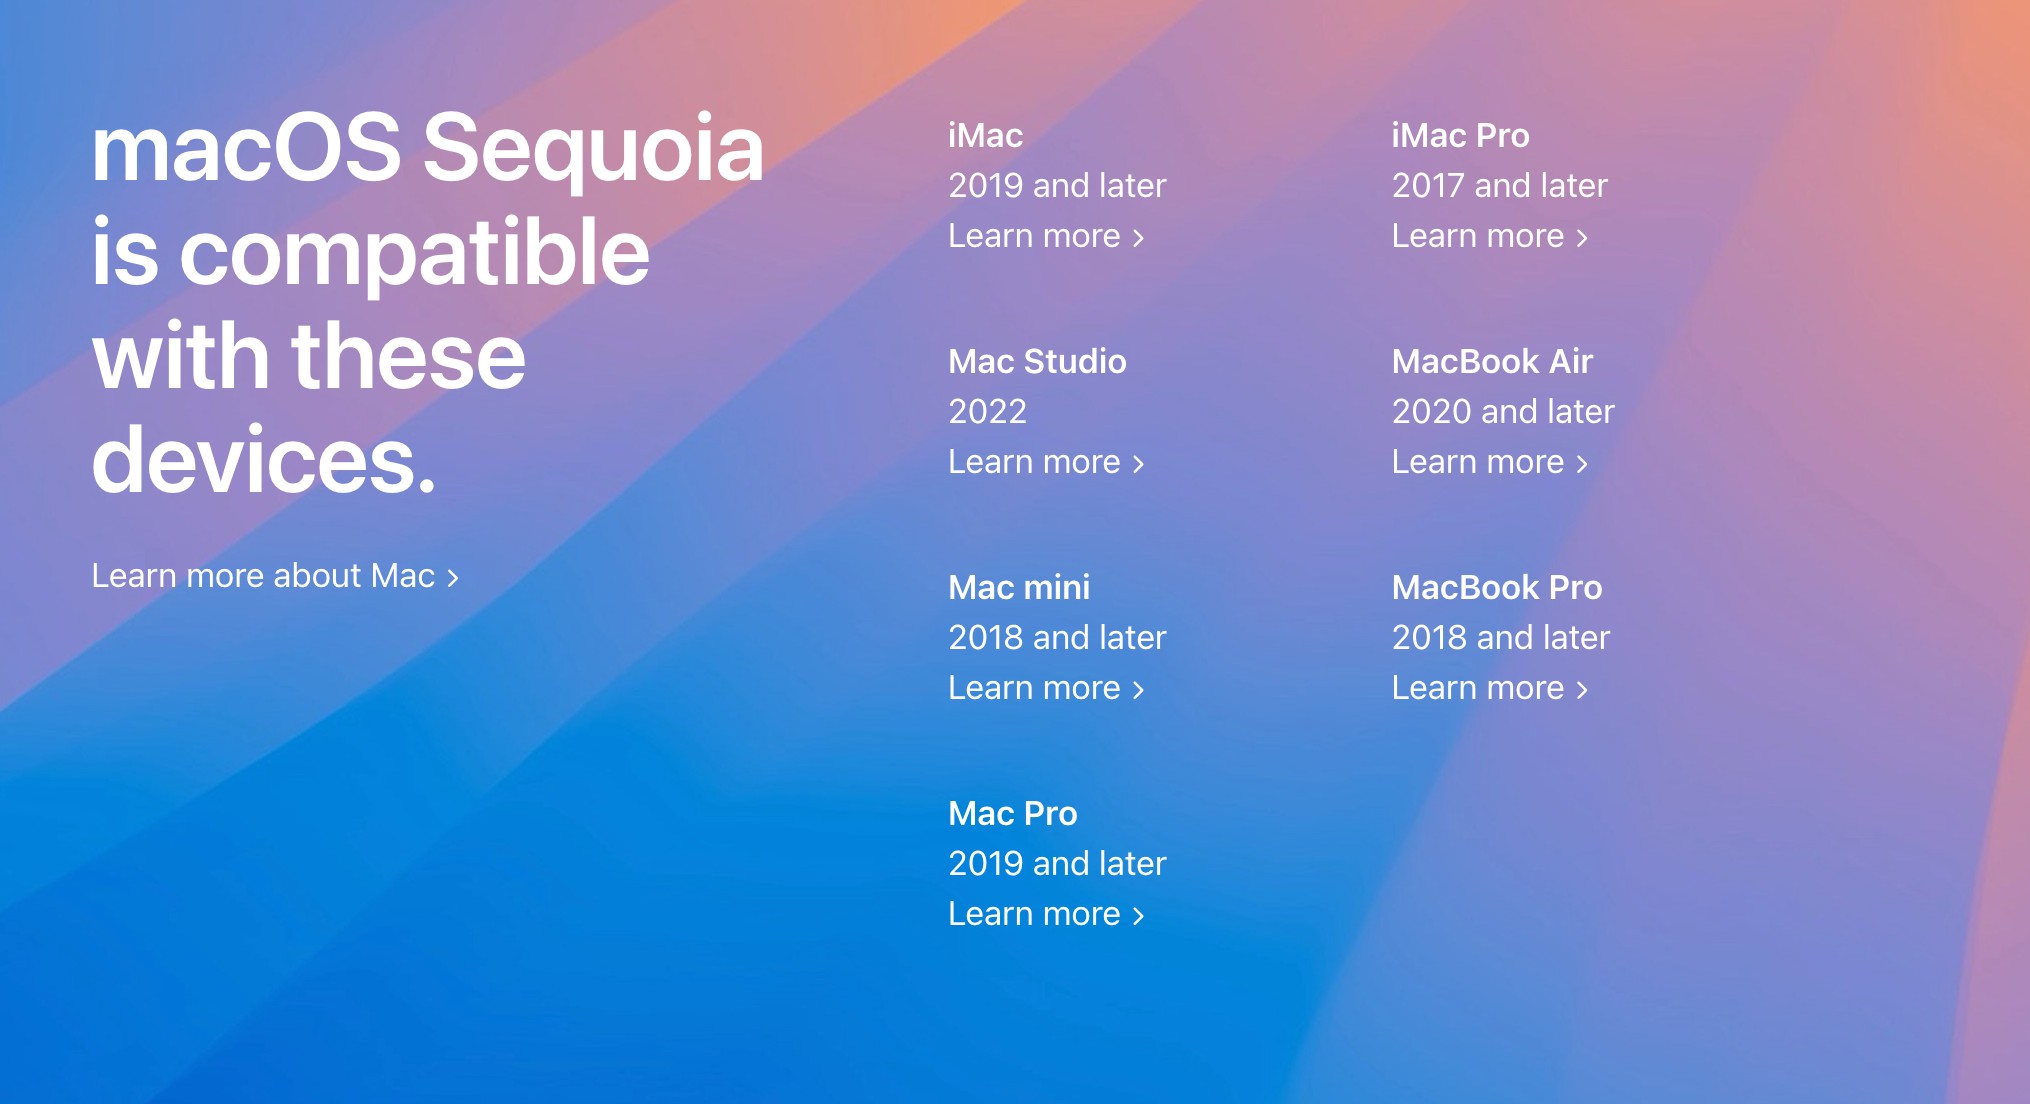
It’s not a certainty that the latest Windows or macOS update is compatible with your hardware, even if you’ve got one of the best Macs or Windows laptops. Microsoft specifically introduced stringent hardware requirements for Windows 11, and you may experience difficulty upgrading from Windows 10 to the latest release if your PC doesn’t meet them.
That’s why you should specifically check that your PC is compatible with the update you want to install. It’ll save you a ton of time and frustration spent wondering why the update isn’t showing up or completed successfully. And if your PC isn’t supported, we have a guide below that should help with that.
Apple offers long software support for its top Mac computers, but it does typically drop support for certain older Macs with every new release of macOS. You should check Apple’s website to see if the macOS version you want to install works with your machine. If it doesn’t, you can explore the use of the OpenCore Legacy Patcher in some cases. For those wanting to find out if their Mac can install macOS Sequoia, we have the full list here.
6 Read the release notes
If there are known bugs or feature removals that impact your workflow, hold off
Source: XDA / Apple
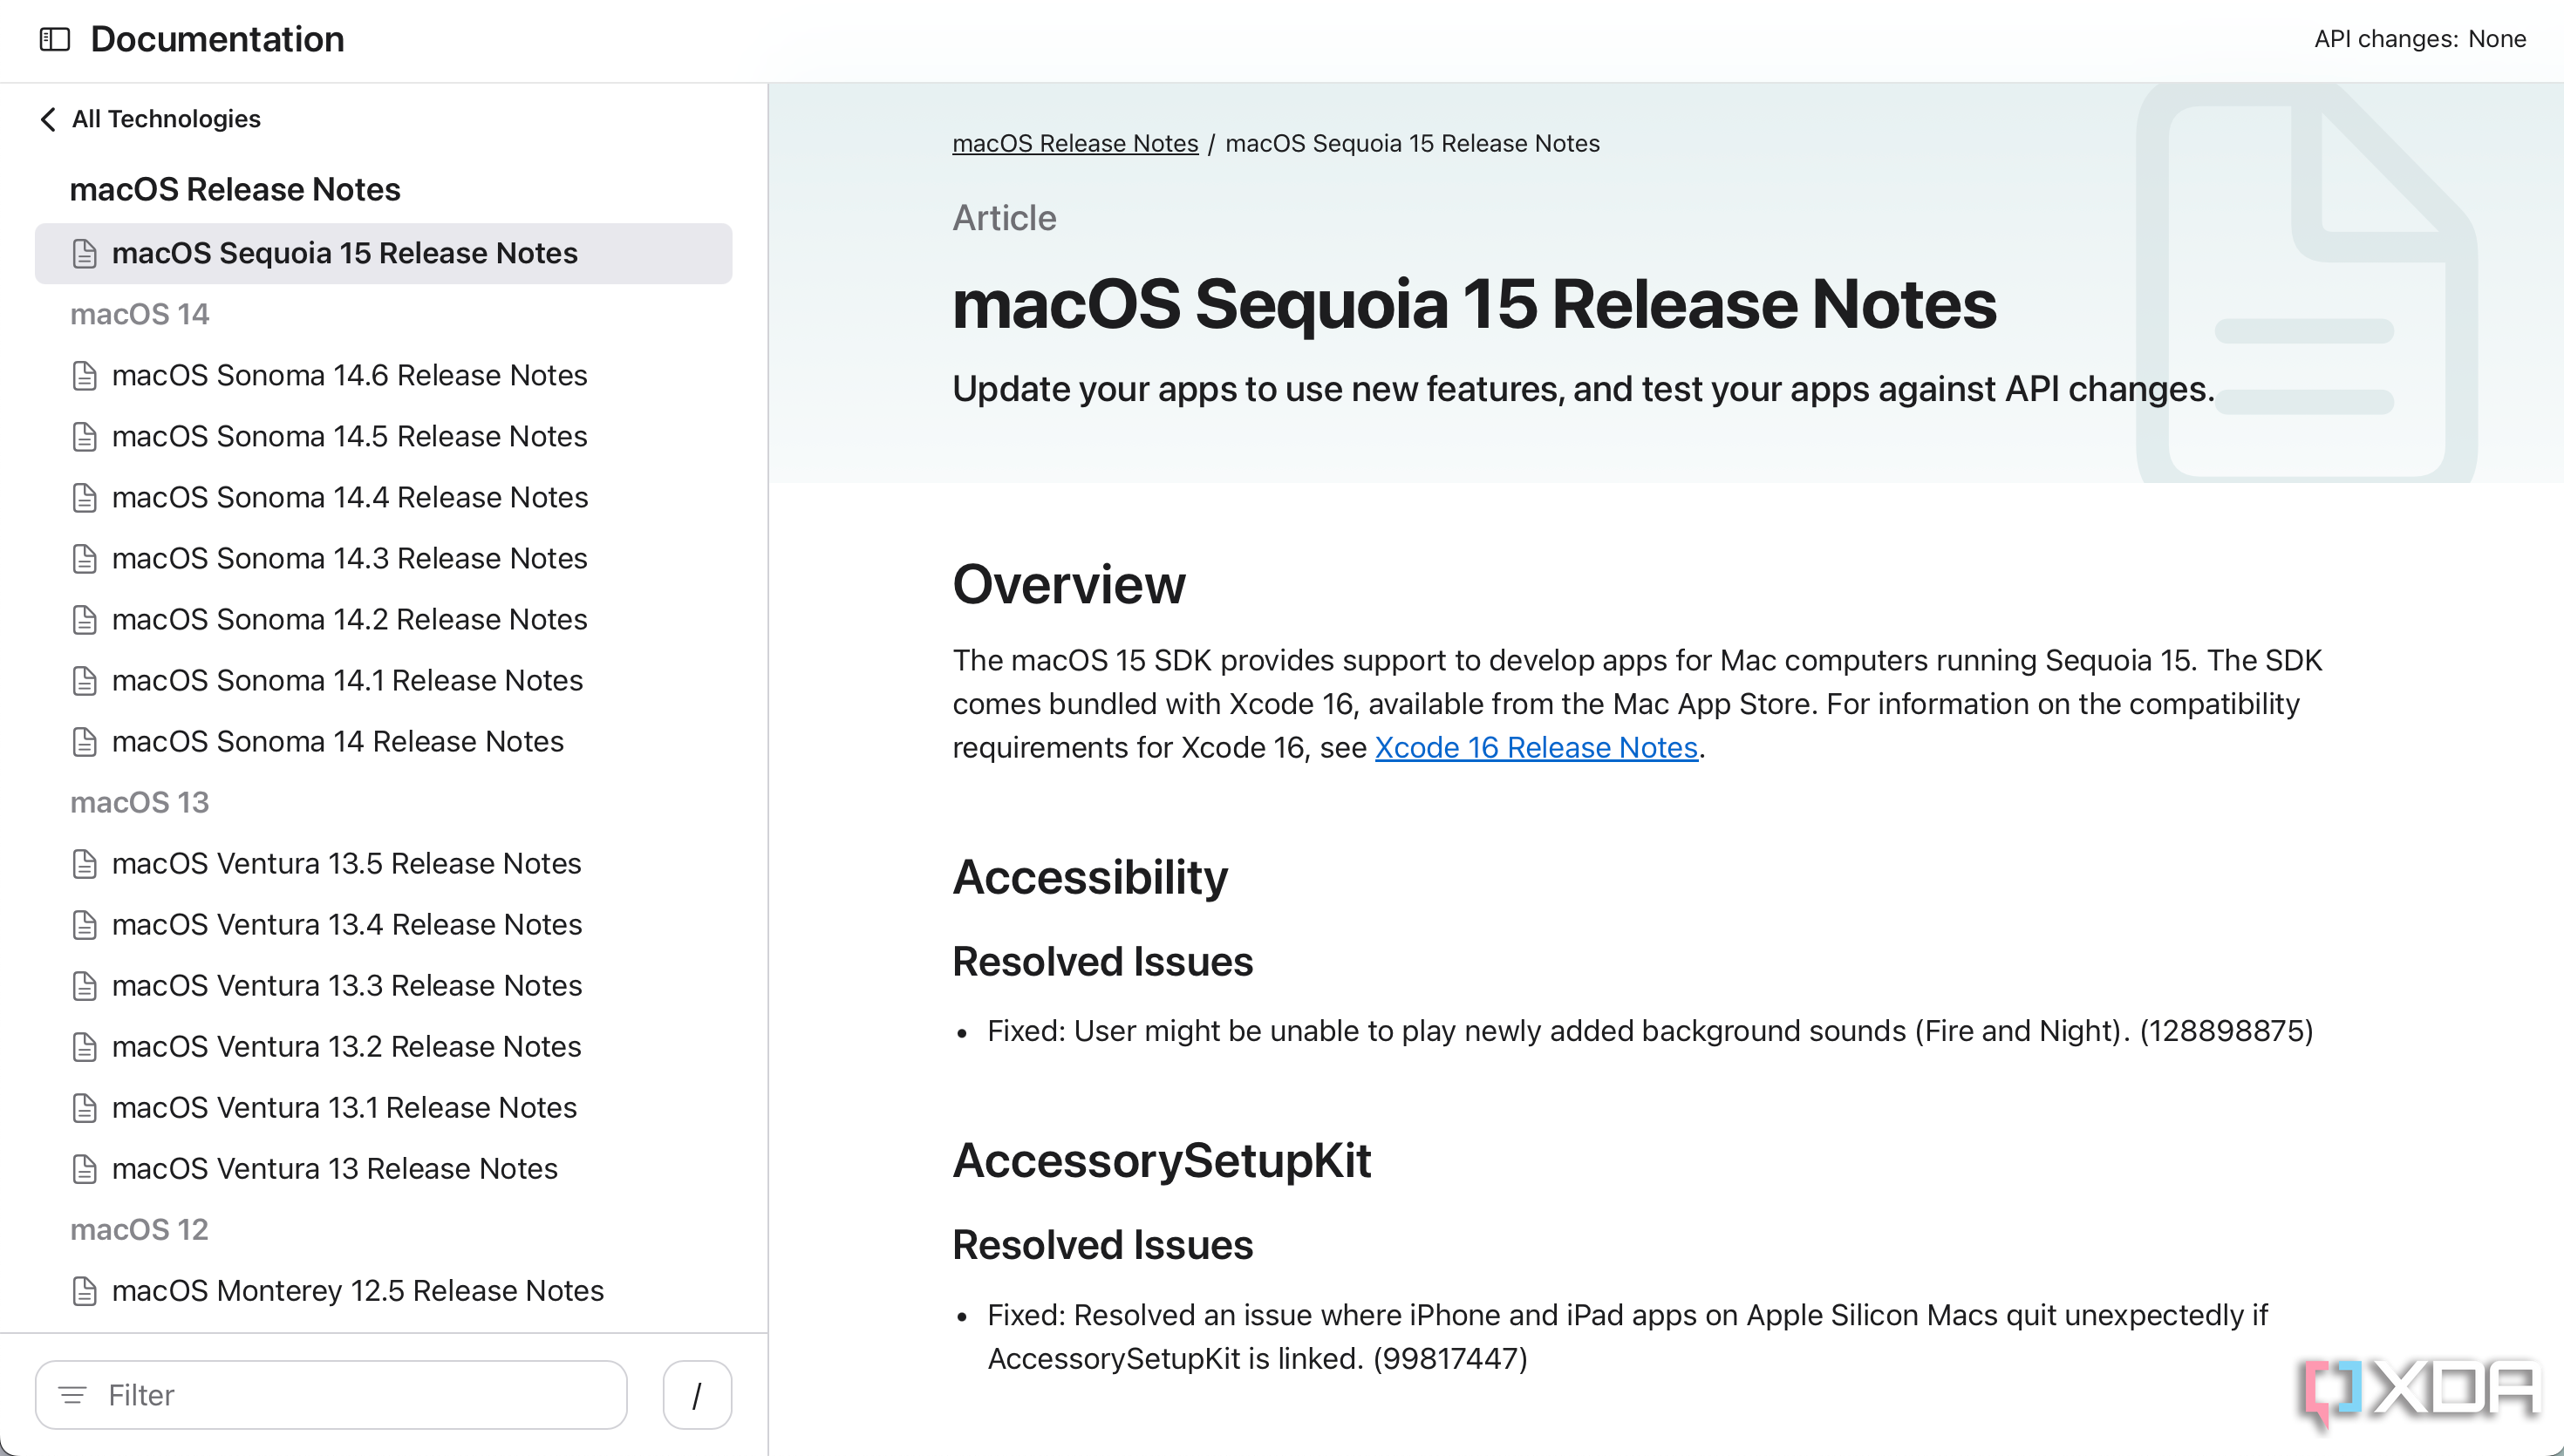
Software updates don’t just bring new features, upgrades, bug fixes, and security fixes. They also could come without longtime features or bring new bugs of their own. For example, Microsoft just released Windows 11 24H2, and it ships with a few excellent features. It also removes WordPad, which has been a Windows staple since 1995 when Windows 95 debuted. On top of that, there is a laundry list of bugs and known issues with 24H2 that Microsoft is aware of. If a deprecated feature or known bug impacts your workflow, you’ll wish that you had never installed the new update.
To be clear, Microsoft isn’t the only software maker that removes features or suffers from bugs and known issues. It’s a problem that plagues every operating system on the planet, including macOS. That’s why you should read the release notes to learn the features, changes, and known issues that could impact how you use your Mac or PC — preferably before you install an update.
5 Make sure you have enough available storage for the update
Modern OS updates are large, and they won’t proceed without ample disk space
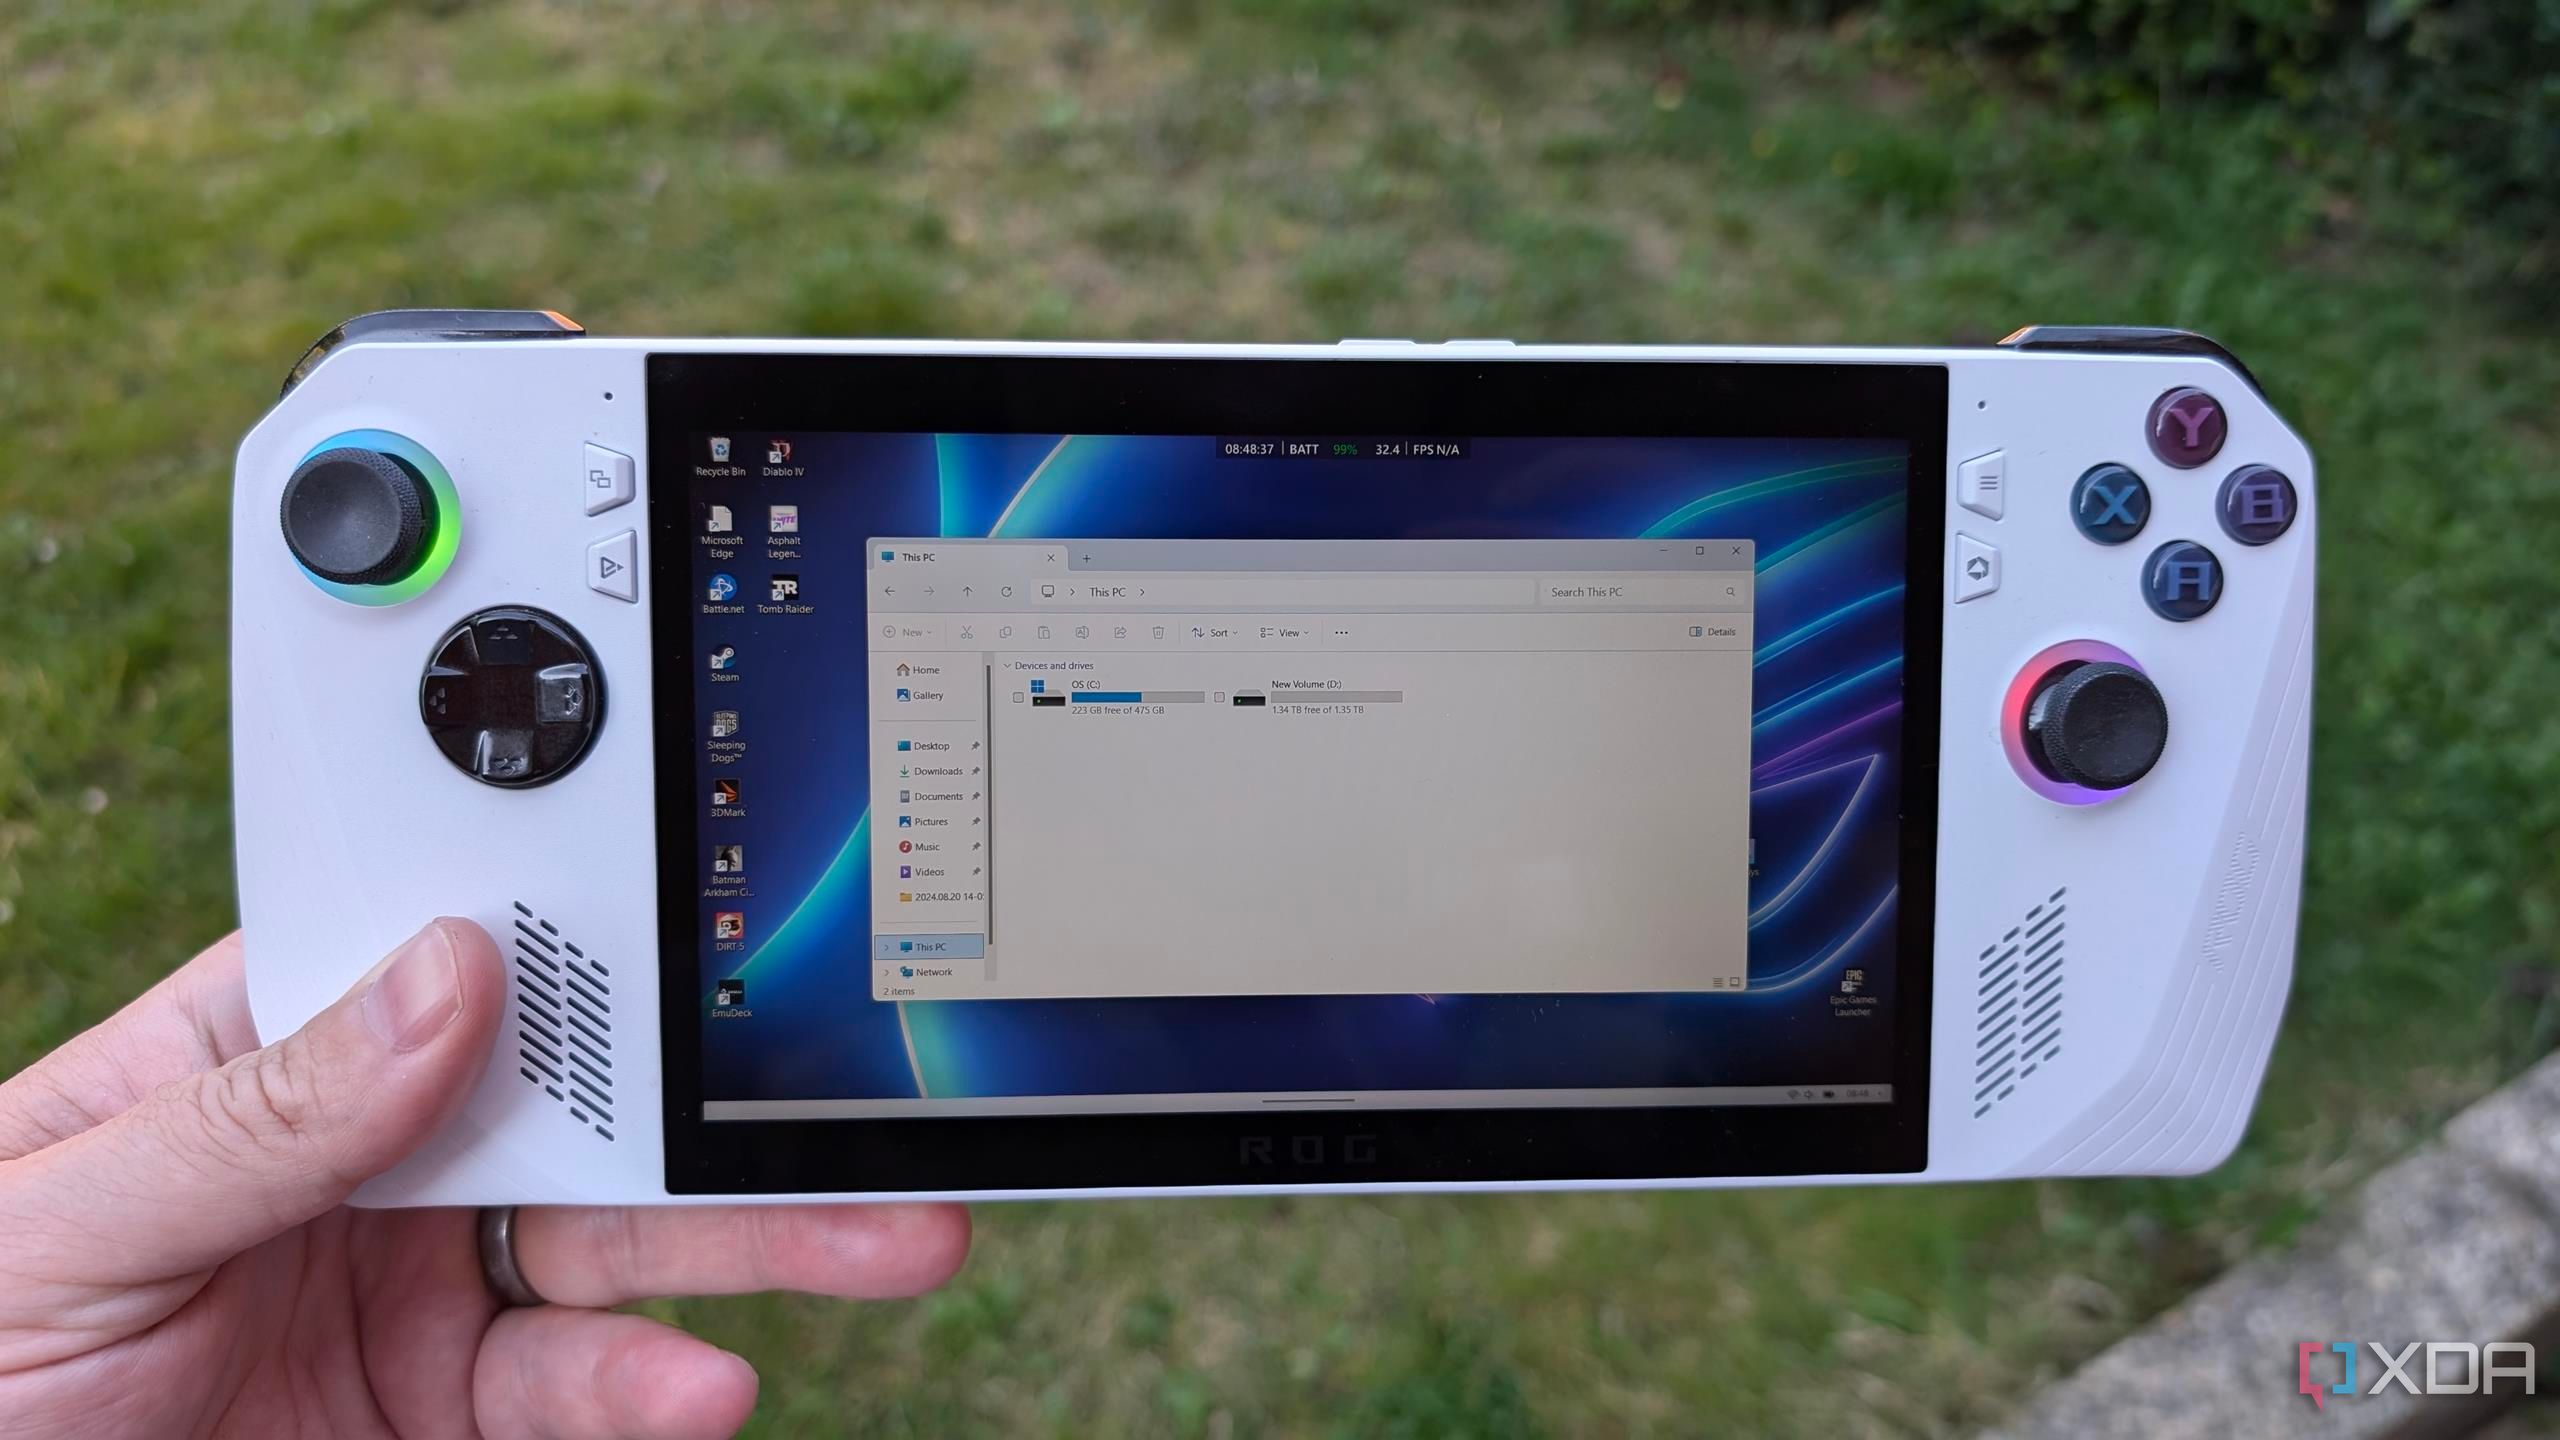
If you’re tight on storage space, insufficient storage may be the reason your update isn’t downloaded installed properly. Windows 11 and macOS Sequoia both require around 30GB for a fresh OS install, and less if you’re applying a smaller update. Still, it’s a good idea to check to make sure you have enough disk space before you attempt to install an update. On the software update page, Windows and macOS will show you the size of an update. Then, you can check your disk usage in Windows 11 to see how much space you have left.
The same goes for macOS users. They can check how much storage they have available using the System Settings or Disk Utility apps. If you find that you don’t have enough storage, the update won’t be downloaded and installed — so you can use the steps below to free up space on your Mac.
4 Disconnect your peripherals
It won’t hurt to remove external drives, USB hubs, or other devices that aren’t necessary
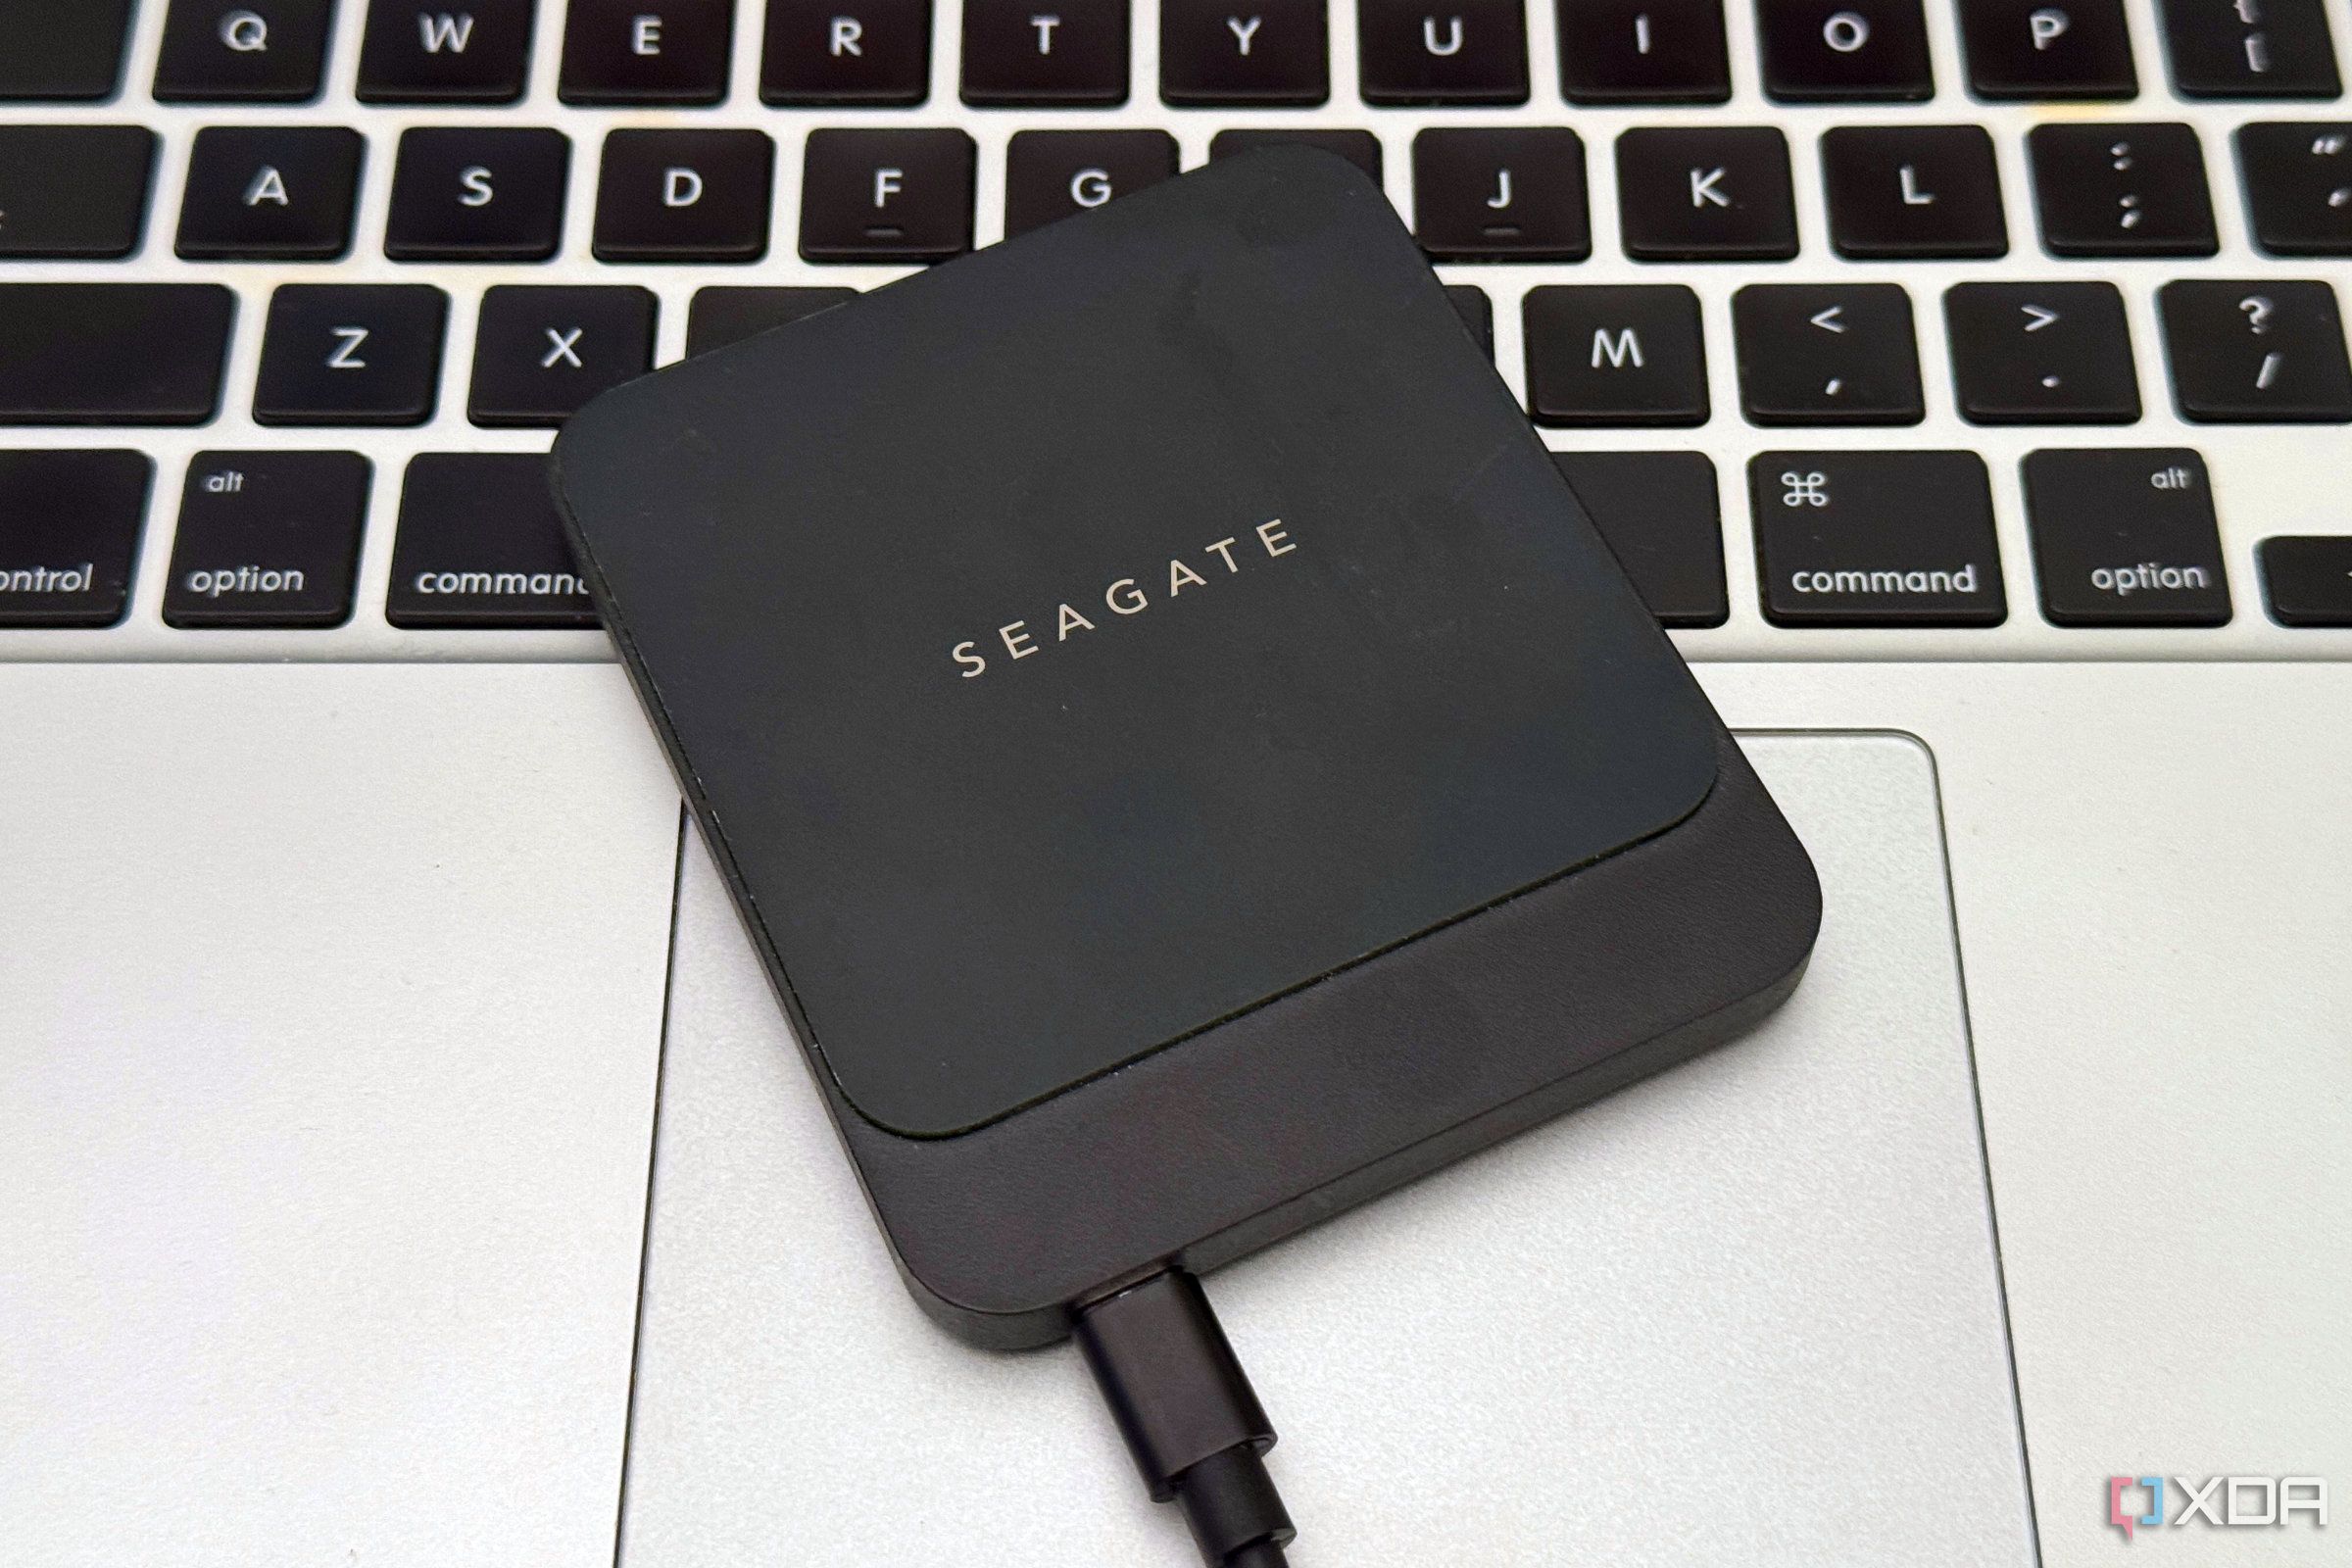
You should remove unnecessary peripherals before updating your Mac or PC to prevent issues during the installation process. A keyboard and mouse are typically fine to leave connected, but things like external hard drives, SSDs, docking stations, and other accessories should be unplugged before starting an update. Peripherals connected to a Windows PC could cause your system to check for and install driver updates during the installation, which would slow down the entire process and could cause issues.
Similarly, it’s possible that an error could cause a computer to install the necessary updated files on external drives if they are connected. If you’ve installed updates with all your peripherals connected before and haven’t run into any problems, that isn’t surprising. This is definitely a “better safe than sorry” step that is intended to help you out in the rare event that an update doesn’t install properly due to an unnecessary peripheral.
3 Disable your antivirus software
It’ll slow things down and could cause issues — but Windows Defender is OK
Using third-party antivirus software? It’s worth disabling it for a brief period before installing a system update on your Mac or PC. It’s a good practice to turn these services off before updating because they might manually scan each update file for malware, slowing down the process. If the antivirus software detects a false positive — in other words, thinks a valid update file is malicious — it could block the update from installing properly, causing serious issues. Plus, if you’re installing a system update directly from Microsoft or Apple, you know it’s safe from malware.
Of course, you should enable your antivirus software immediately after updating. Additionally, built-in tools, like Microsoft Defender, should be kept active during the update.
Related
Best antivirus for Windows 11
Protecting your data is always important, and when the built-in Windows security fails, these antivirus programs are your best bet.
2 Update your drivers
It’s a good idea to make sure these are up-to-date to prevent compatibility issues
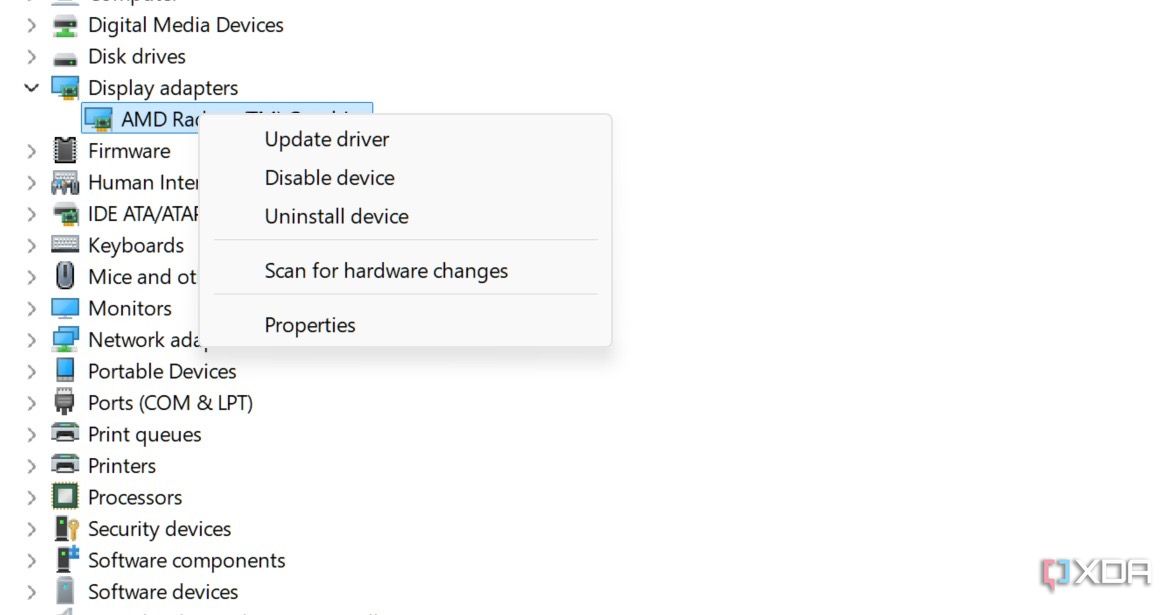
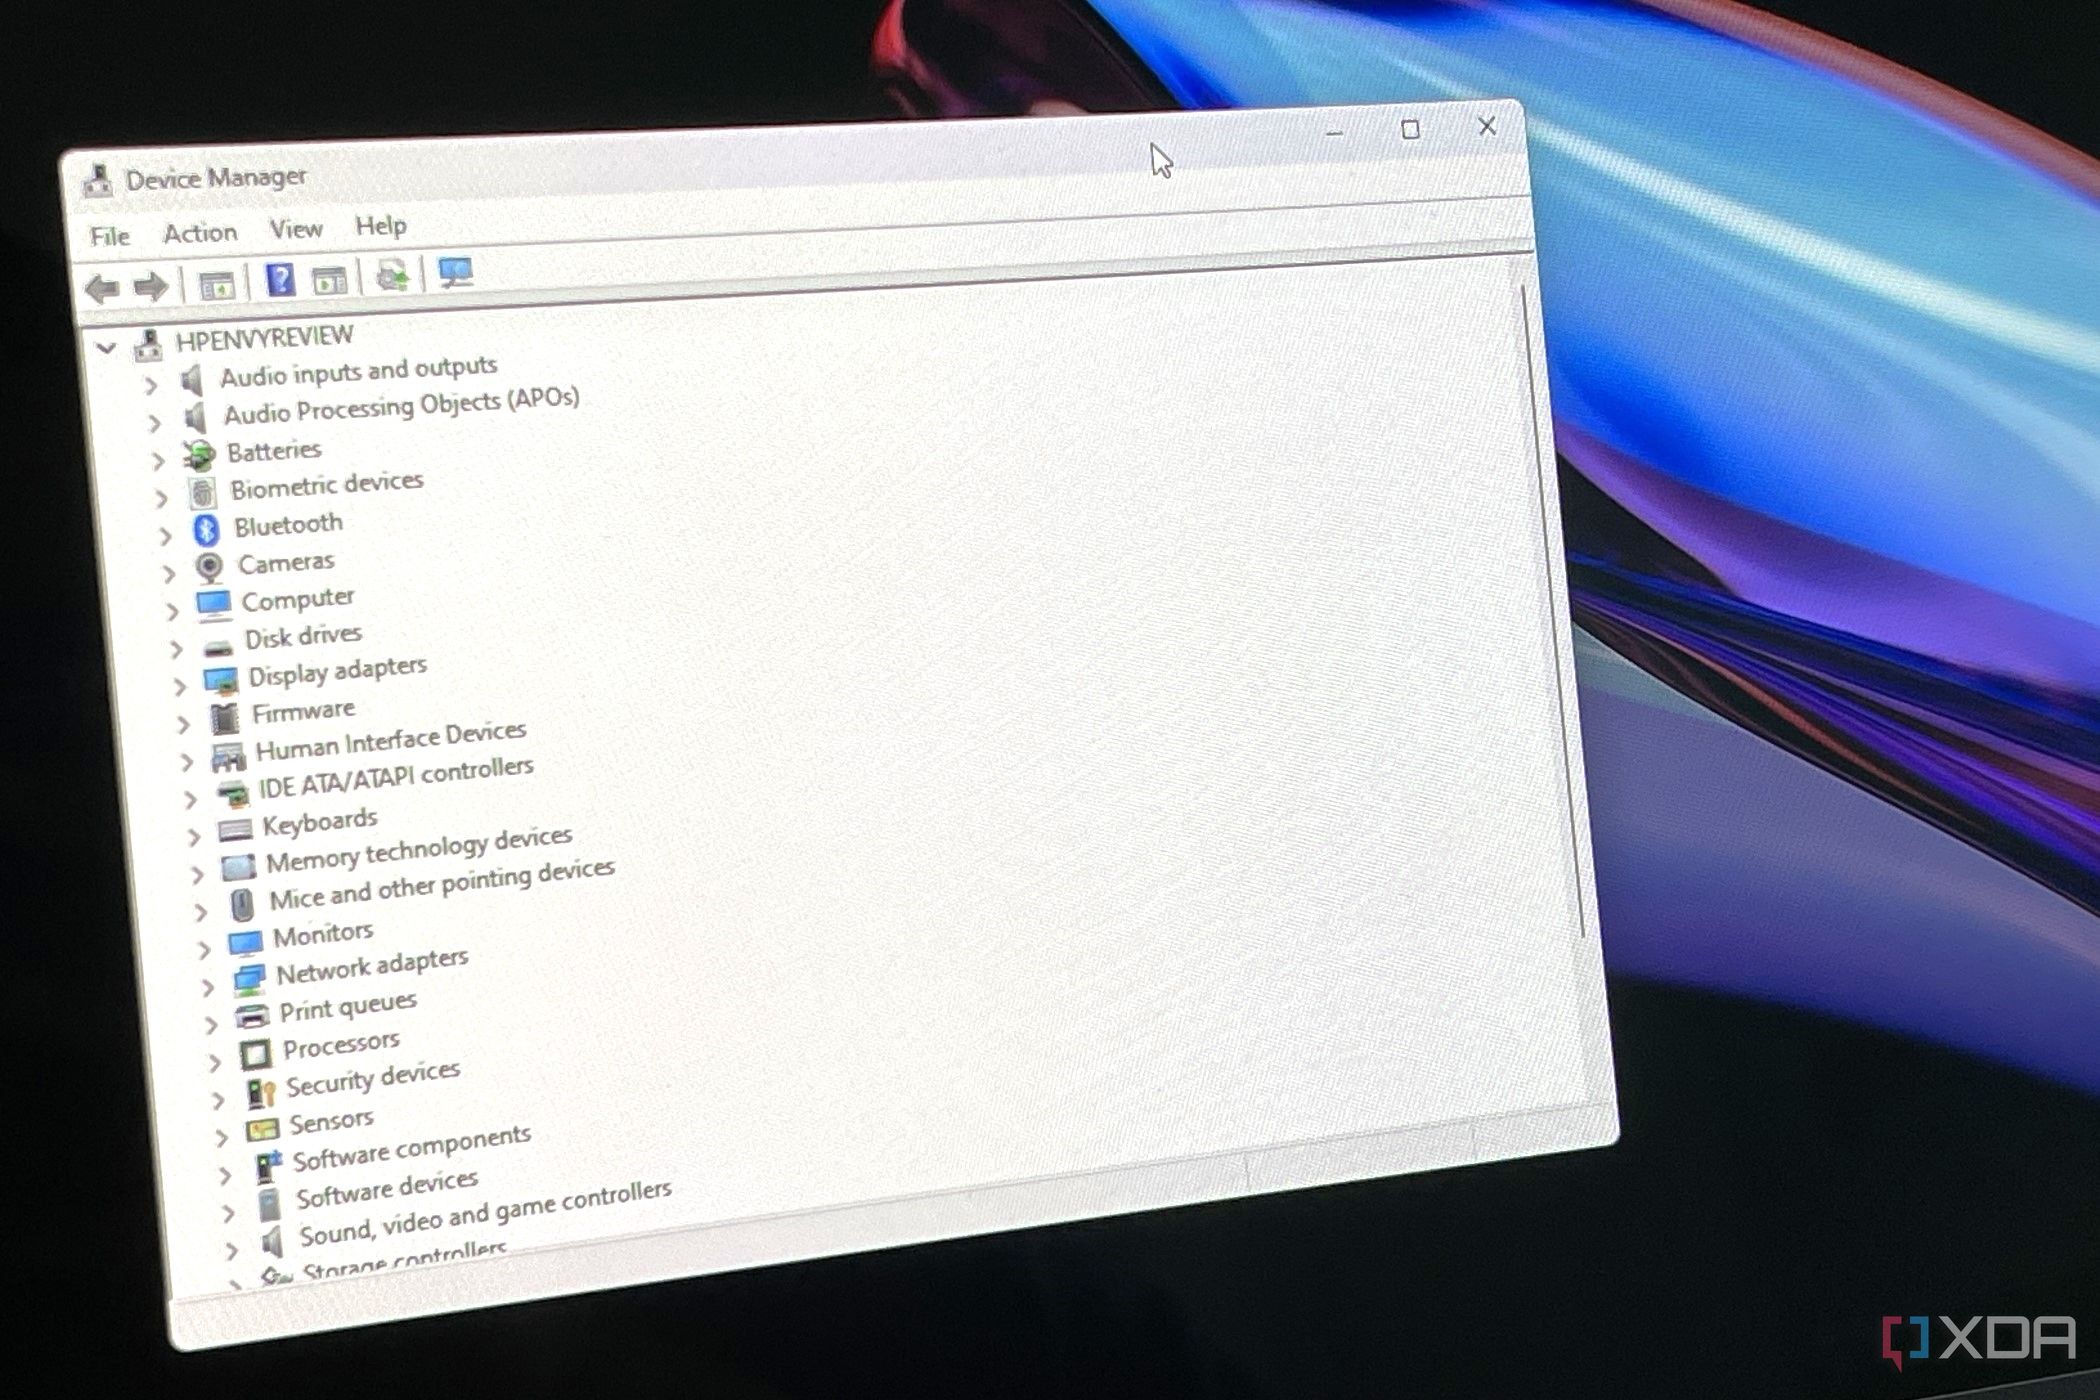
Before you update your operating system, make sure to check that everything else is up-to-date. Essential drivers that you depend on should be updated so that you don’t run into compatibility issues after your system update is applied. Outdated drivers can cause a variety of things to not work properly, especially if they’re system-critical, like your graphics card driver.
Whenever possible, try to install smaller updates more frequently rather than making large jumps. These tiny updates in between biannual or annual software releases might include things that are necessary to install the next upgrade, or simply smoothen the process.
Related
How to update drivers in Windows 11
If you find that a peripheral attached to your PC isn’t working right, or a part of your PC isn’t working, you’ll have to update the drivers.
1 Make a backup of your Mac or PC
There’s always a chance things could go awry while installing an update
All the aforementioned steps are preventative measures, and they may or may not help your software update install successfully. It’s also possible that you could have a successful update without following any of these best practices. Truthfully, knowing when or why an update is going to fail is not an exact science. These tips give you the best chance for success, but it isn’t guaranteed. That’s why this last step — backing up your Mac or PC — is the most important.
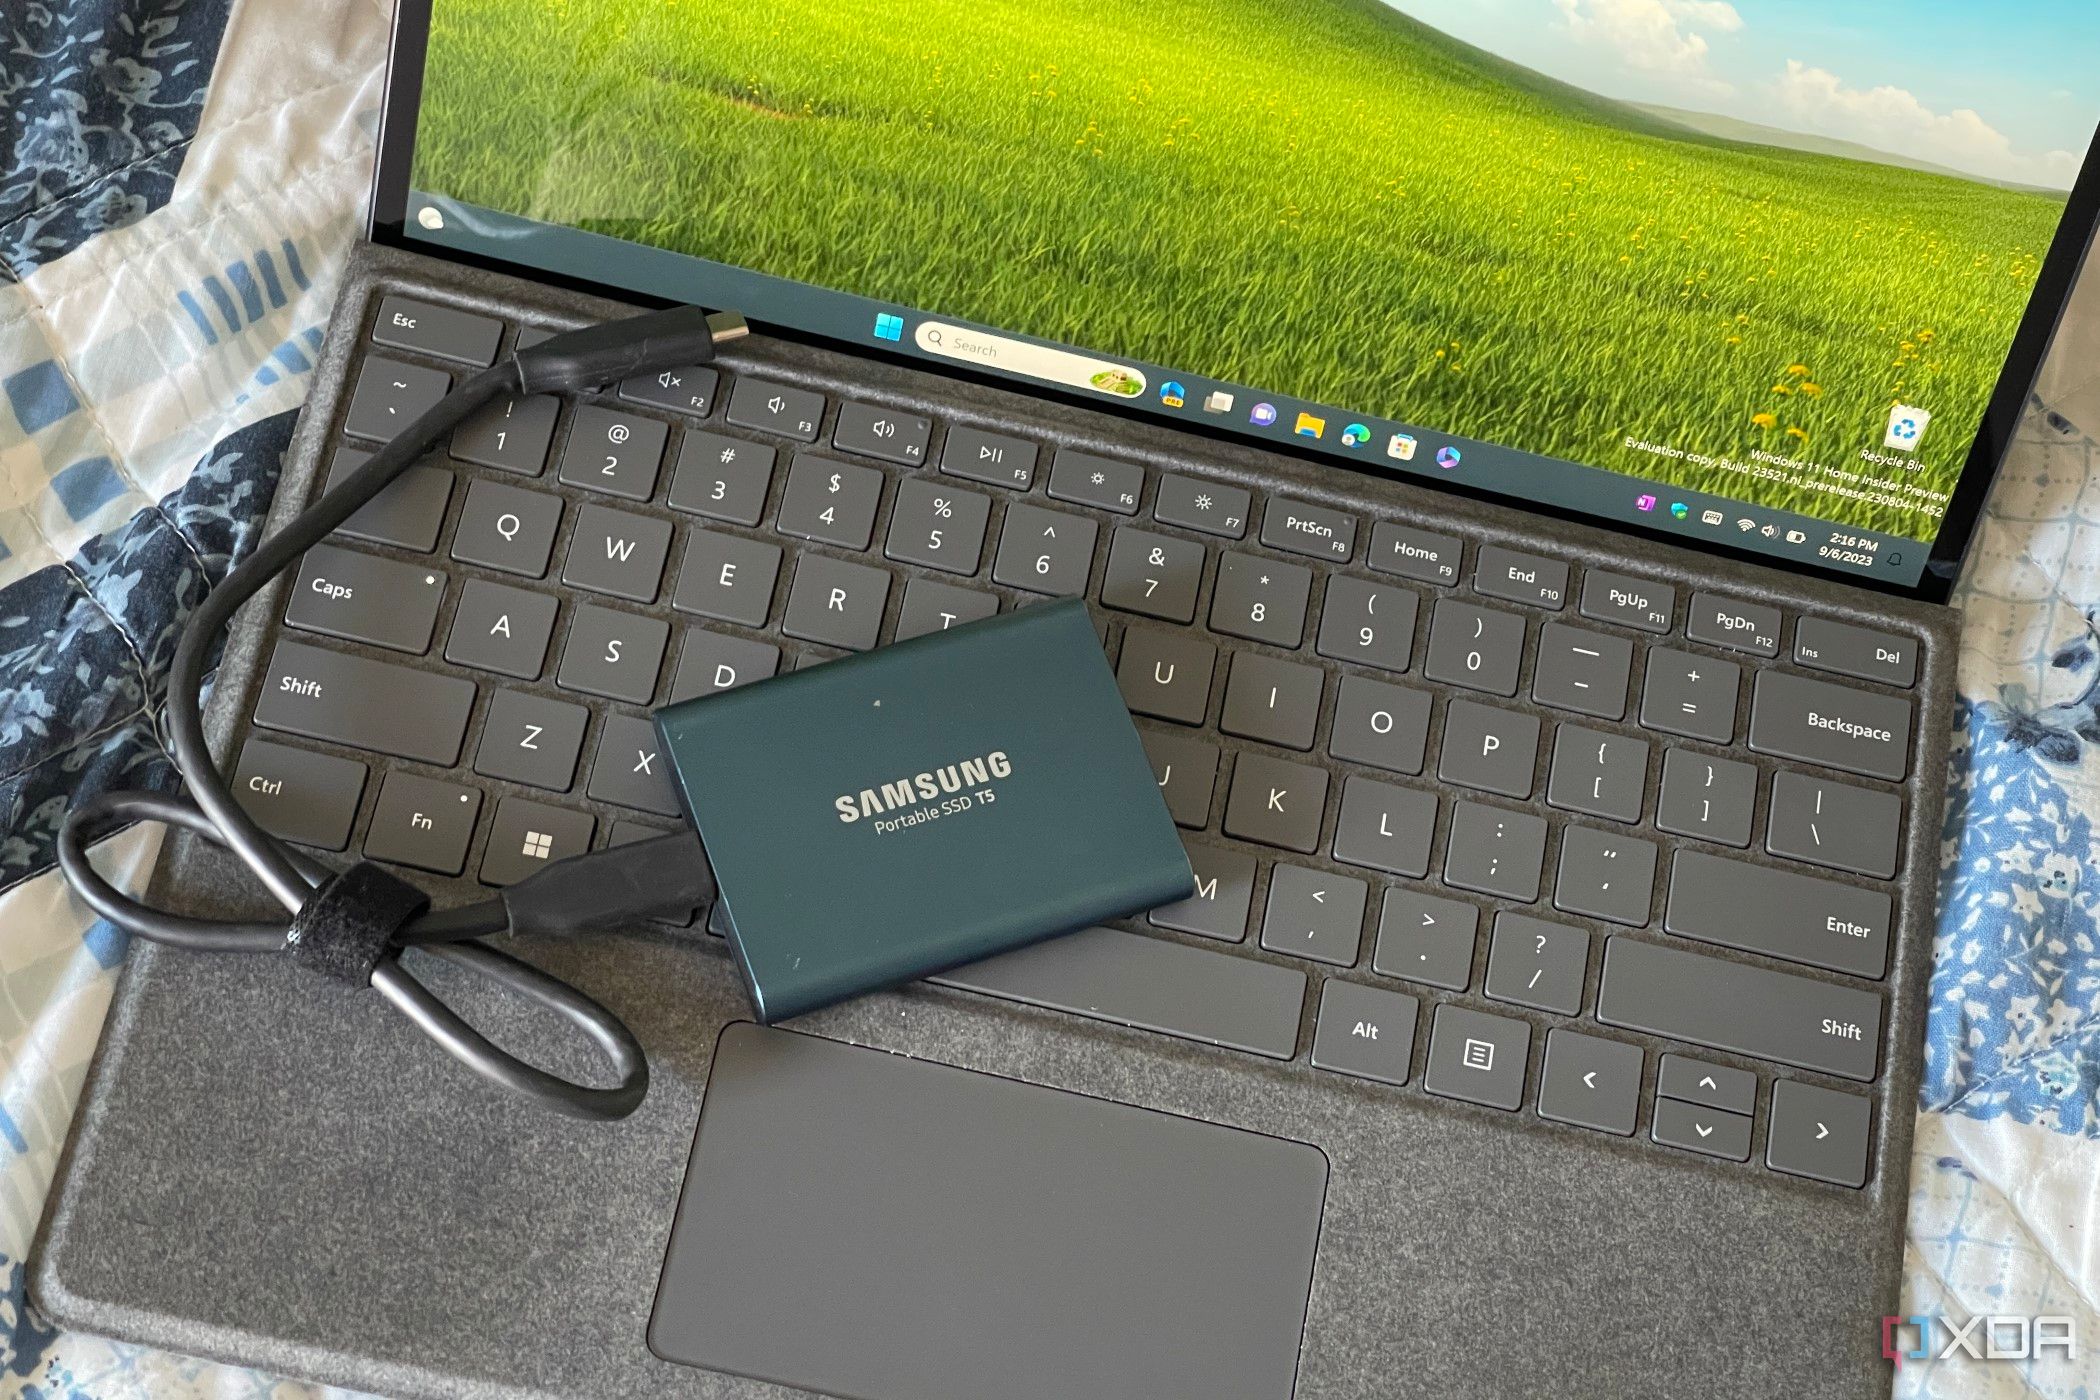
You can use the default backup utilities on macOS or Windows 11, and we have a guide on how to back up your PC below. Preferably, you can use an external hard drive or SSD to keep a physical copy of your computer’s contents with you. Alternatively, cloud services like OneDrive and iCloud can store a copy of your files and folders — or even your entire computer — in the cloud. Whenever possible, we recommend using both a local backup and a cloud backup, for redundancy.
Related
How to back up your Windows 11 PC
Want to keep a full copy of your PC in case something goes wrong? Or just back up your files? It’s made easy with Windows 11’s system tools.
After taking these steps to back up your Mac or PC, you’ll be covered even in the rare event that the software update fails. If a corrupted update requires you to reinstall Windows or macOS, it will almost certainly result in data loss. However, with your backup, you can restore your Mac or PC to exactly how it was before attempting to install the update. If you only follow one tip in this list, make it be this one.
An even better data redundancy practice would be to set up an automatic backup tool, like
File History on Windows 11
or Time Machine on macOS.
When should you update your Mac or PC?
Lastly, it’s time to figure out exactly when you should update your computer. There are benefits to updating your Mac or PC as soon as the software releases are available, because you get bug fixes sooner and security patches as soon as possible. However, the benefits of waiting it out are that you’ll see whether there are major issues with a software update without learning about them the hard way.
The best advice is probably somewhere in the middle. Wait it out a few days, see if there are reports of the updating causing problems or being pulled altogether, and then install it on your Mac or PC. But before you do, be sure to go through these steps to give your update the best chance of success.
